While I wait for my solar panels I’ve been cleaning up the module roof from the damage done by the old A/C housing guard. Most of it was scratches and a yellowing of the paint where debris accumulated. There were also a couple of inexplicable deep gouges toward the rear that I wanted to at least cover with paint. Mainly I just wanted to make it look a little better before I mounted the MaxxAir fan, which arrived this week. More on that later in the post.
I decided to use Rustoleum automotive primer and paint. I figured white was white, but that turned out not to be the case and now I have kind of a patchwork look with some lovely overspray. However, it’s good enough and I don’t care what it looks like anyway as long as aids in keeping the module cool.
The primer went on without a problem, but when I applied the first coat of white, the paint crazed, which basically looks like alligator skin. According to the instructions, the paint could be applied anywhere from 50 to 90 degrees. The garage was 50 and while the can warmed up a few degrees when I was shaking it for a couple minutes it was only 56, which I didn’t think was a big enough difference to cause a problem. I figured maybe it crazed because I didn’t sand the primer. So before the next coat, I sanded away all the crazing. However, upon applying an even lighter coat, the paint crazed again! Resting my hand on the roof I realized that while it was 50 degrees, the aluminum felt colder because it’s highly thermally conductive, which is also why it’s used in heatsinks. I figured this was basically causing the paint to constrict before it adhered to the primer/previous layer.
I sanded it all down again and devised a little pre-heater tent that involved an upside down plastic tote and an electric space heater to heat soak sections of the roof. I let this run for 20 minutes, while checking the outer skin’s temperature from inside the module. I also tucked the can of spay paint inside my coveralls so it would warm from my body heat. Once the roof and can reached 68, I applied a light coat of paint and then used my heat gun to keep the surface warm and speed up drying. This time there was no crazing, so I applied a second coat using the same technique. The downside was that I could only paint in relatively small sections, but it got the job done.
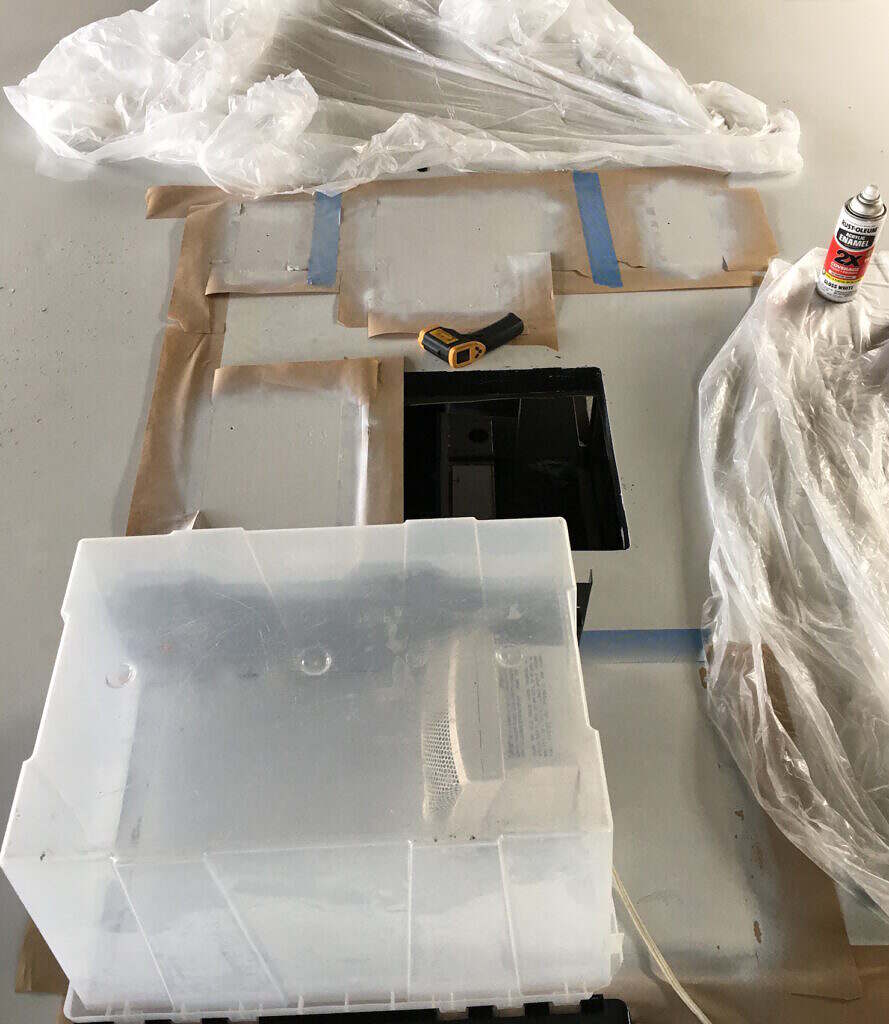
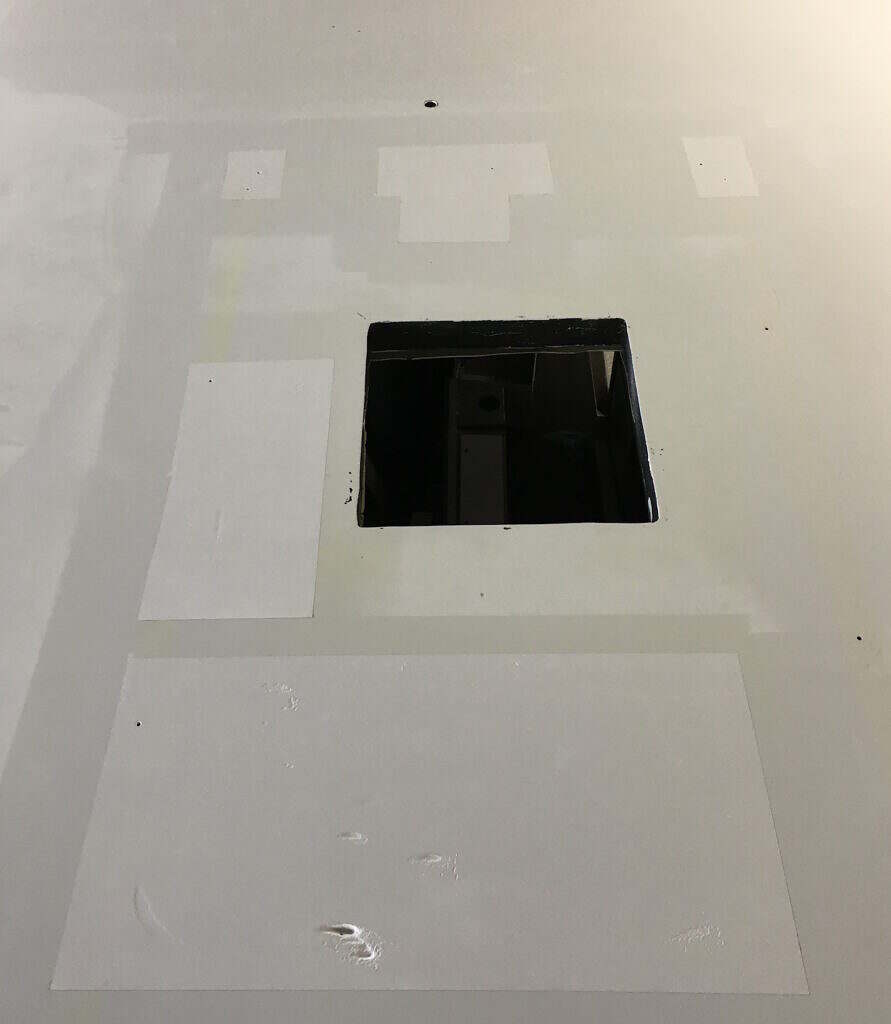
While I had taped off the areas I wanted to paint and used plastic drop cloths rather haphazardly, I ended up with a lot of overspray, due in part to the multiple extra coats I had to put on to fix the crazing issue. It’s not particularly pretty, but it’s white.
MaxxAir
MaxxAir fans are widely considered must-haves in the RV/van life communities. Many of the reviews start off explaining that they were switching from some other brand that didn’t hold up or perform as promised, particularly those with rain sensors that can be overly fickle. I went with the Deluxe model, which has an oversized cover with an overhang that allows the fan to run even if it’s raining or while driving. It can also be raised or lowered to adjust airflow and has a temp auto-hold where it will turn on and off based on a set desired temperature. It can also suck air in or blow it out and all this can be controlled via controls on the fan or the included remote. I had planned to order one with a white cap, but those were out of stock for several weeks so I went with a smoked cap. My primary reasoning for the white cap was that it would reflect sunlight and the fact that my roof is white(‘ish.) However, the three rather large solar panels I will be installing on the front half of the roof are black, so it doesn’t really matter and I can always paint it white.
Late today I did a dry fit of the fan. It comes with upper and lower mounting brackets to give it a clean look inside and out. Under the outside bracket, I’m going to use Sikaflex 252, which is a ridiculously strong, but flexible adhesive designed for rooftop applications.


The fan is 12V, so I’ll just run a wire from the DC terminal block using the same holes that the previous A/C unit used. My original plan called for putting in another fan near the front of the module, but the revised solar panel layout wont accommodate that. It’ll draw air from the side entrance window or the cab windows, but if I find airflow is a problem I can always put a hand-operated vent in the front wall of the module.
MaxxAir makes an internal shade accessory to block out the light, but it’s about an inch thick, which would rob valuable head room, and a ridiculous $65. I’ll probably fashion an insulated blackout panel similar to what I’m planning for the windows and make some kind of magnetic retaining clips.