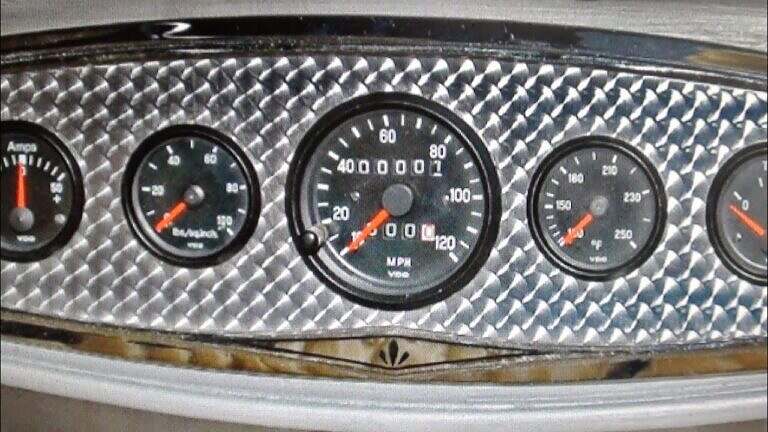
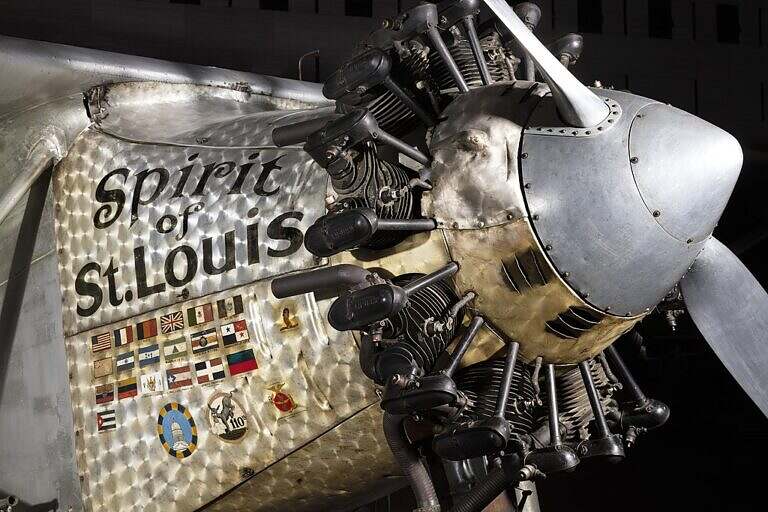
Engine turning (also known as engine jeweling) actually has nothing to do with the engine and instead refers to a technique for decorating metal with a repeating, overlapping geometric pattern. Historically, in the 1920’s and 30’s, it was used to decorate automobile dashboards and engine bays while the most famous example is probably the engine cowling of Charles Lindberg’s aircraft the Spirit of St. Lewis. Today it’s more commonly used to decorate watch faces and firearms, but it can be applied to almost any metal surface.
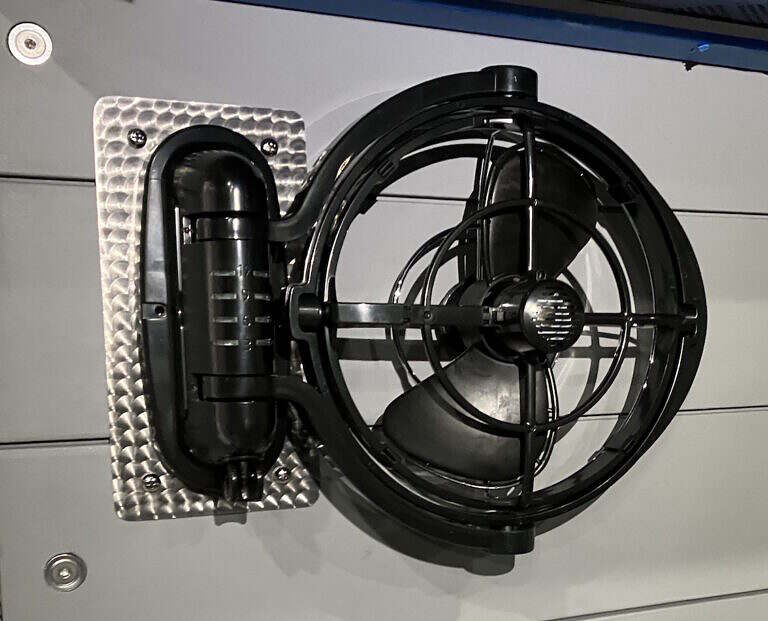
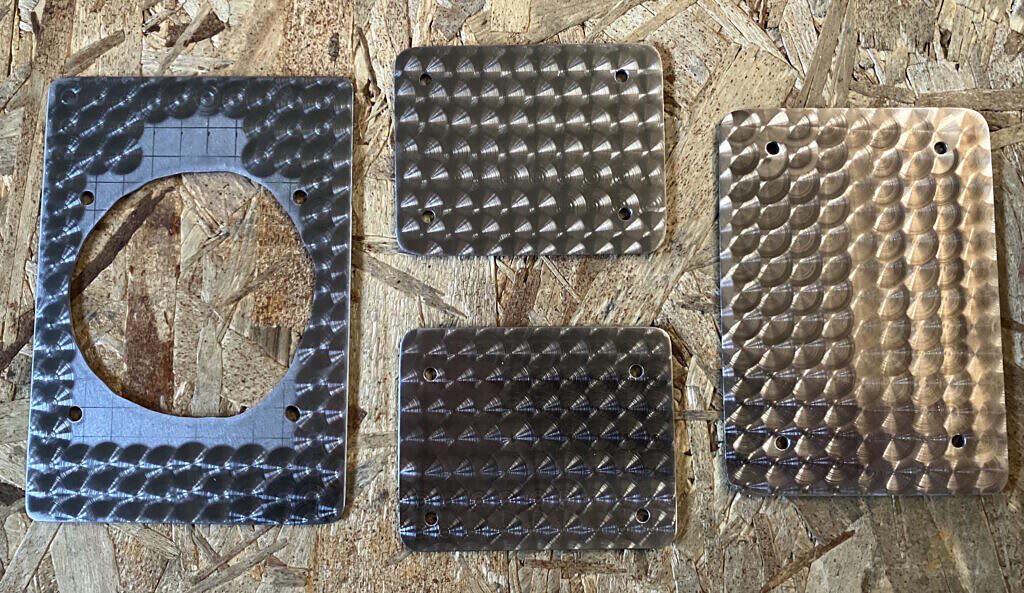
I’ve always liked the look and so decided to use it on the stainless steel plates I fabricated as covers for the holes left by removing the shore power hookups and indicator lights on the left side of the module. I also applied it to the aluminum plates that were used as backing plates for my fan and reading light on the bunk wall
Tools
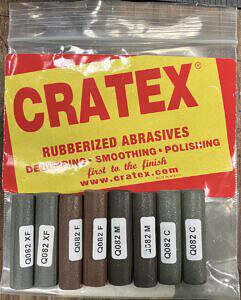
Traditionally, the technique was done using valve grinding paste, but you can use almost any sort of abrasive applied to whatever diameter of tool you want. As you can see from the above photos, the diameter of the circles applied to the engine cowling are considerably larger than those used on the dashboard. After some research, I found a product called Cratex, which is a rubberized abrasive in various grits and available in different shapes. The harder the metal you are jeweling the coarser the grit you need to use. I selected 1/2″ sticks of Cratex in a variety of grits from extra fine to coarse since I would be jeweling aluminum and stainless steel. Fortunately, the sticks just fit the chock in my drill press so I wouldn’t have to mess around with making a holder for them.
Prep work
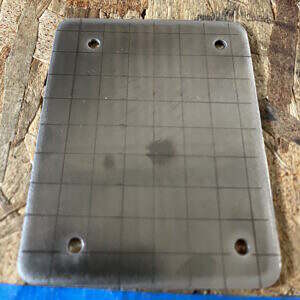
Preparing the metal surface to be jeweled is critical to getting good results. The surface doesn’t have to be polished to a mirror finish, but it does have to be free from deep scratches. While jeweling does scratch the metal to achieve the desired effect, these scratches are very shallow and any deeper scratches or flaws will show through the pattern. To prepare the surfaces I sanded with 220, 340, 400 and finally 600 grit using a random orbit sander.
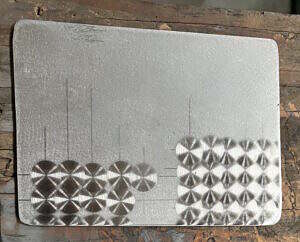
Once you have a uniform surface the next step is to layout the pattern. It is possible to freehand the layout as you go, but that requires a lot more experience than I have with the technique. Some people also use CNC machines to layout their pattern, which unfortunately I don’t have access to. Based on my research the ideal overlay is approximately 73% of the diameter of the abrasive tool one is using to ensure that the surface is completely covered and no unfinished areas are left between the swirls. For the 1/2″ Cratex stick I was using, this meant an overlap of .365″ or 3/8″. However, after doing some tests on pieces of scrap I decided to reduce it to .3125″ or 5/16″. With that dimension in hand I laid out a grid on each part with a pencil and straight edge.
While it’s possible to use a hand-held drill, I opted to use my drill press which would provide better control of both the plate and the abrasive tool. I used a straight piece of stainless steel clamped to the drill press platform to give me a fixed edge to move the part along as I applied the pattern. I also laid down some painters tape with a penciled grid just to give me a visual reference. My drill press has some adjustable laser guides which project an X onto the surface. I aligned the X with the center of the Cratex stick so that as I moved along the fixed straight edge I could align each swirl by putting the pencil marks in the crook of the X.
It’s also important to do some testing on scrap first to determine how hard and for how long you should apply the stick to achieve the desired swirl in the material. The cover plates I made for the shore power holes were stainless steel, which is obviously far tougher than the aluminum plates I used for the inside panels. On a side note, I made these plates from covers removed from the old ceiling that were used to access antenna mounts on the roof. However, I had cut the plates to fit my original replacement 30 amp short power outlet, which was made out of plastic. Since I was going to have these fancy backing plates I decided to replace the plastic one with a stainless steel outlet, which necessitated a backing plate with larger dimensions. Rather than order some stainless steel plate of a specific thickness, which is not particularly cheap, I headed over to Menards to see what alternative I could come up with. What popped into my head before I even got there was a stainless steel door kick plate. A quick measurement with my calipers and $10 later and I had a perfect solution.

It is necessary to periodically dress the stick to expose fresh abrasive and ensure the surface stays flat relative to the work surface. I used a hand file flat on the drill table, which I then applied the Cratex to accomplish this. Larger surfaces would obviously require more frequent dressing. For duration I settled on roughly two seconds with moderate pressure and then did a second application of about one second, after visually checking the position of the new swirl. Because the stick is rubbery, with the consistency of a pencil eraser, you can’t really crank the chuck down tight as you typically would because it would deform the stick and give it a wobble.
Finishing
Once I finished each plate, I applied several coats of KBS Diamond Clear Coat spray paint for some added scratch resistance. I installed the plates with rivets, which I polished to a matching shine. I also applied a liberal amount of Dicor adhesive to act as a weather seal.
For the aluminum plate that would be inside the module I opted to not clear coat since they wouldn’t be exposed to weather or UV.