Rear Step/Bumper Repair
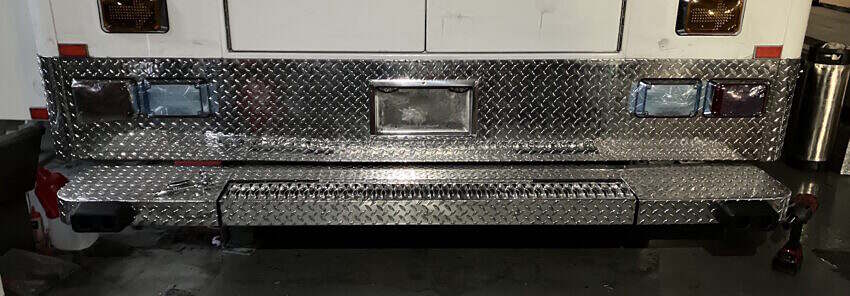
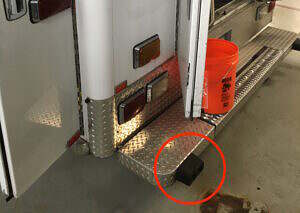
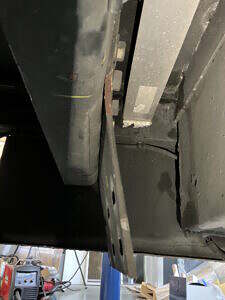
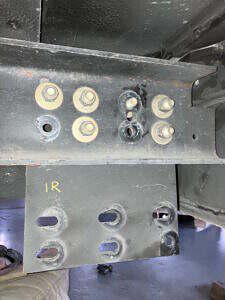
Other than a few scratches here and there, there were no significant dents or dings in the bodywork and the truck was in amazingly good condition. In fact, the only issue I could find was the rear bumper seemed to be a little askew. It wasn’t really even noticeable unless, like me, you spent a considerable amount of time staring at it from all angles. The more I looked at it the more it bothered me so at one point I rolled under the truck to take a look at the structure and how it was mounted. I discovered that the bumper was not in contact with any part of the module, but was in fact, mounted directly to the truck frame itself, which I guess makes sense if you think about it. There were two large 1/4″ steel plates bolted to the truck frame and these were then connected to two large horizontal mounts which were in turn bolted to the rear face of the bumper. Upon closer inspection I realized that the two steel plates were both slightly bent to the left, which accounted for the misalignment I had noticed. Once I understood that, it became apparent that someone had likely bumped into something a little hard while backing up. The left-hand rubber dock bumper, which would be the aft-most point of contact, also had a large gouge, leading me to believe it was probably the left side of the bumper that hit first and took the brunt of the impact and causing that side to be misaligned more than the right. There was no significant damage to the bumper itself, so I figured it was probably little more than a low-speed bump. The diamond plate on the lower part of the module did have a bent up corner where the bumper struck it. It wouldn’t have taken much even to bend the 1/4″ steel plates, considering the 19,000 lbs of truck the bumper was attached to.

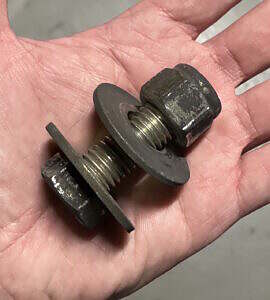
Like everything else in the truck, the bumper is a heavy duty piece of kit. A little digging revealed that it was made by a company in Ohio called Fitzpatrick Mobile, which appears to specialize in aftermarket bumpers. The underlying structure of the bumper is tube and plate steel with the exterior being aluminum diamond plate. Fastening the plates that connected to the truck frame and the plates that connected those plates to the bumper are 28 massive 24mm x 50mm Grade 8 bolts. With the accompanying washers and nuts these weigh nearly a half pound each (7oz), which totals just over 12 pounds of fasteners holding the bumper to the truck. I wasn’t able to weigh it while I had it off the truck, but I’d guesstimate the bumper itself at 250+ pounds.
In order to remove the 24mm bolts I had to break out the big 1/2″ drive Milwaukee torque wrench. I originally bought this in order to be able to remove the lug nuts on the wheels, which on trucks are typically torqued to 450-600 ft lbs. The Milwaukee is capable of 1440 ft lbs of loosening torque and at just over 8 lbs, it’s a brute, making it all the harder to wrestle laying on your back while also trying to hold a wrench to the opposite bolt head to prevent it from spinning. It does make one helluva satisfying ugga-chugga noise though.
After contemplating the problem for a while I decided that all that really needed to be done would be to bend the two 1/4″ steel mounting plates so they were straight again. A relatively easy fix, but one that would require completely removing the bumper. My other motivation for doing this was that it would also make it much easier to finish polishing the diamond plate on the bumper as well as the rear lower diamond plate trim on the rear of the module.
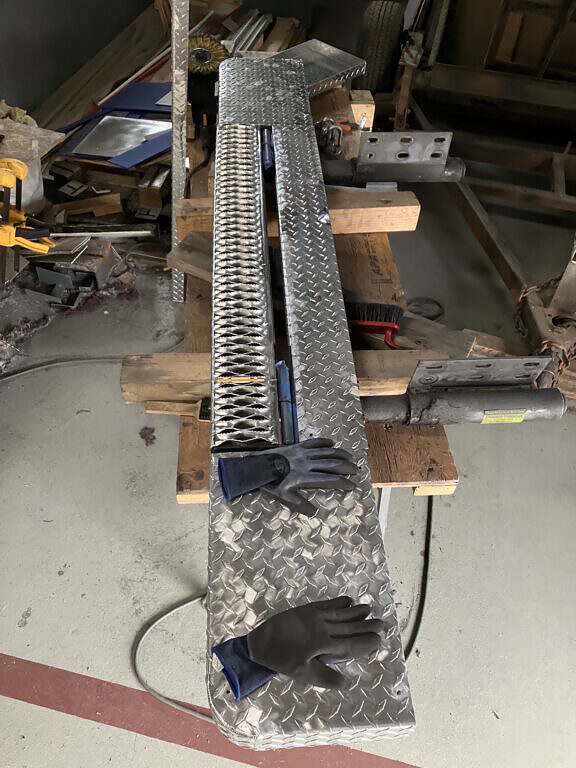
I fashioned a support out of a floor jack and a wood pallet to prevent the 250+ lb bumper from crushing some or all of me as I removed the nuts and bolts. I also had to break out my sledge hammer to apply some percussive motivation to a few of the bolts, but otherwise the removal was relatively easy and refreshingly non-injurious.
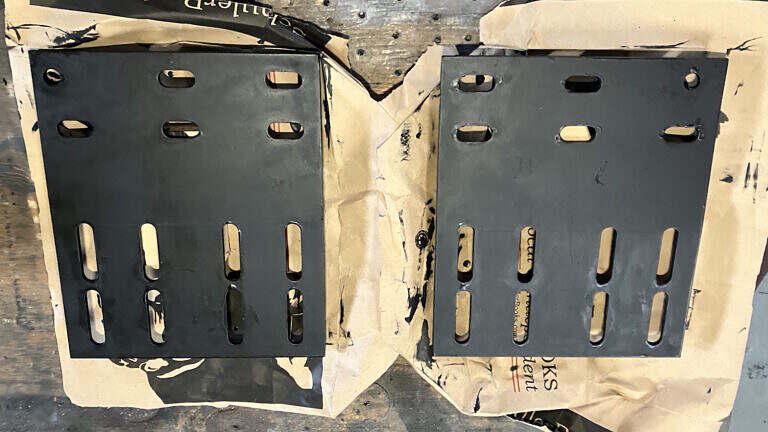
The mounting plates measure 10-3/4″ x 12-3/4″ and weigh 10 pounds each. It’s a rather clever solution, with the upper 8 holes that mount to the frame being vertical slots while the lower 6 are comprised of 5 horizontal slots and 1 hole, which I deduced was used to ease alignment. These slots would allow the bumper to be adjusted vertically by up to 2″ while not requiring perfect alignment of the bolts if everything was a single hole rather than a slot.
I considered taking the plates down the street to my local metal supply and fabrication shop to see if they could straighten them. However, I realized the solution was much closer in the form of the 8000 lb forklift that’s here at the garage I’m in. I laid the plates down on the cement floor and proceeded to run them over a few times. That corrected most of deformation, but they still weren’t quite flat enough. I then used a couple of stacked hard rubber mats positioned under the end 1/3 of each plate and assaulted them with the forklift a few more times. This allowed them to bend a little past flat in the opposite direction to allow for the natural springback in the steel.
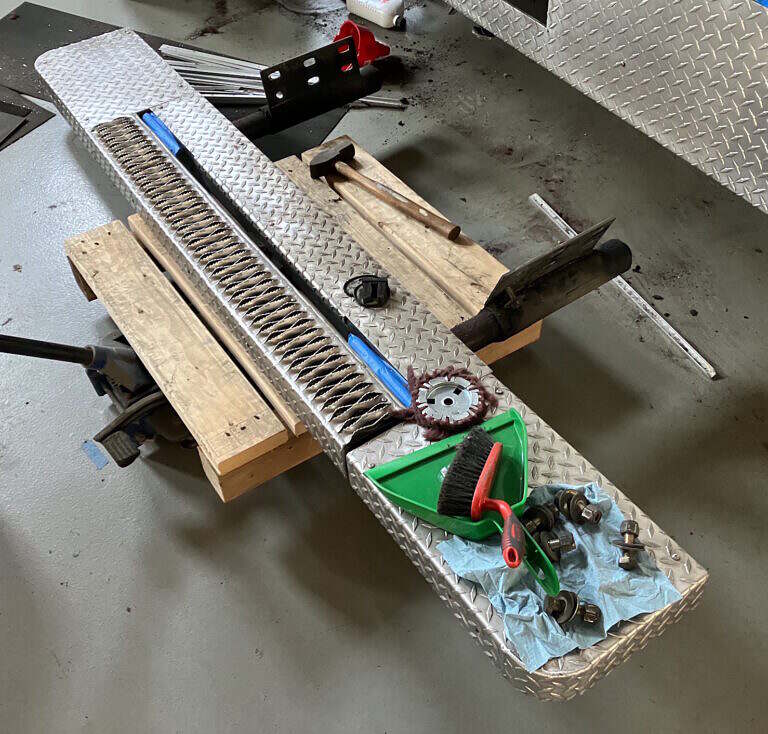
Once I wrestled the bumper up onto a makeshift workbench I discovered a grease zerk fitting on the bottom of each shock cylinder, the right-hand one being broken. There were also zerk fittings on the steel hinges for what I’m calling the stretcher flap. This is the center section of the bumper that flips up allowing the crew to push the stretch closer to the body of the truck and presumably latch it into the track that was mounted into the floor of the module. I don’t know it for a fact, but having watched many a YouTube video on ambulances, this was likely a fancy Stryker stretcher, which has motors to retract the legs and then power itself into the module to unburdened the crew from having to lift and push it when loaded with a patient.
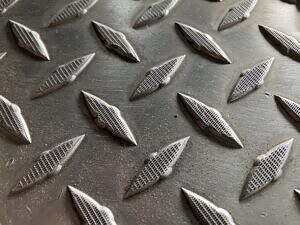
I spent a considerable amount of time polishing the aluminum diamond plate that covered the bumper. Because this had been used as a step, it had plenty of scratches and dings compared to any of the vertical diamond plate elsewhere on the truck. This diamond plate also had tiny tread in the diamonds themselves, presumably to make it more slip resistant. This tread absolutely devoured my polishing wheels. I used up nearly two satin wheels and a good portion of an orange wheel before I discovered that Renegade made a wheel specifically designed for diamond plate, called a Razor Cut Wheel.
While I had the bumper off the truck and up on a bench I also applied a coat of rust encapsulator paint to the steel portions of the bumper structure. After using a wire brush/wheel to remove any flakes of rust you paint this stuff on and it chemically alters the rust (iron oxide) into a rust proof coating.
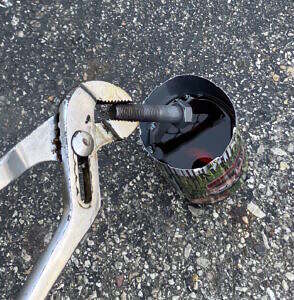
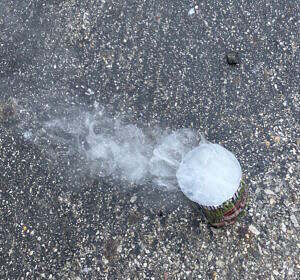
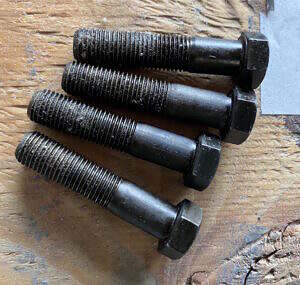
The loading dock bumpers mounted on the rear bumper were secured with two bolts each. As these were down low and close to road surface they had a fair amount of corrosion. After cleaning them up I decided to protect them from future corrosion with a technique called blueing. This involves heating the bolts and washers up with a torch to almost red-hot and then dropping them into a container of motor oil. This is usually done with a special blueing liquid, but new or even used motor oil works as well when appearance doesn’t matter. I used an empty beer can cut in half for my oil bath and the bolts turned out splendidly.
Re-mounting the bumper was a bit more of chore than taking in off, although it mostly just required brute force to push and shove and kick until things lined up. I once again employed the wood block balancing on a rolling floor jack technique. This allowed me position the bumper brackets close enough that I could at least get the bolts through the holes. From there it was just a matter of shifting it around until it looked right and aligned with the lower edge of the rear of the truck. I took enough pictures as I was disassembling that I had plenty of documentation to refer to. There is still the slightest gap created by the bent bodywork diamond plate, but the bumper itself is perfectly straight.
