There is a seemingly endless number of things to polish on the truck and the more I polish the more things I find that need polishing. By far, the biggest time suck has been the 78 light heads on the exterior of the vehicle. My original intent was to leave this task until much later, but as I already had removed most of them from the truck in order to access the wiring spaces behind, it seemed prudent to clean them up before reinstalling.
Light heads – Most of the emergency lights are made up of multiple parts, all of which require polishing. There are a few, such as the clearance lights which are a single assembly but these are far outnumbered by the multi-part light heads.
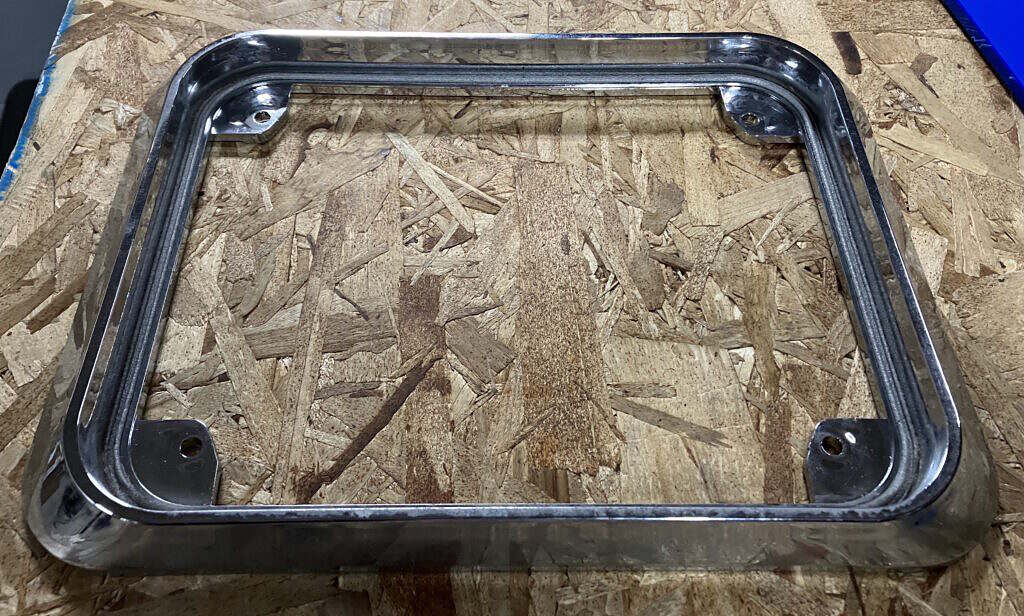
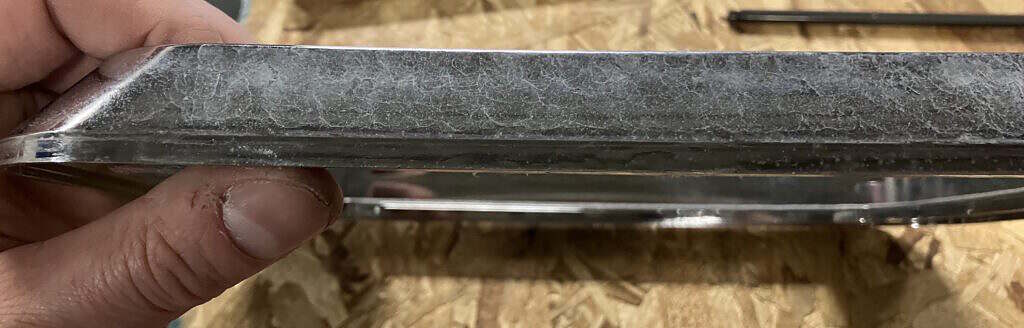

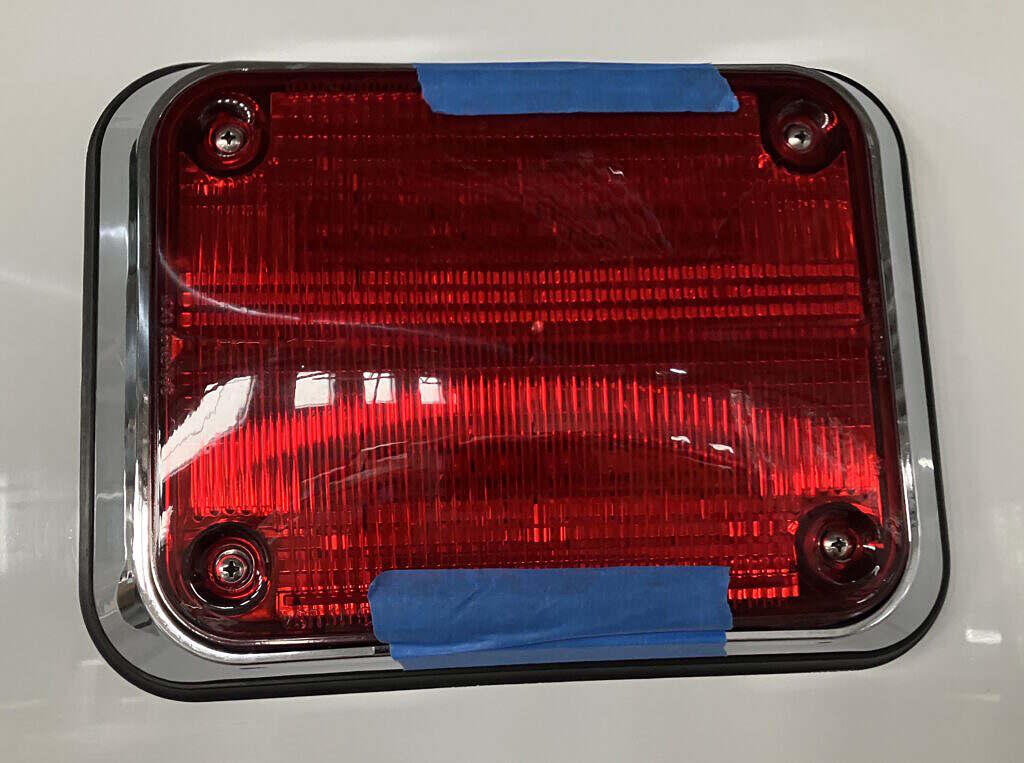
Chrome bezels – Most of these needed a very light wet sanding with 3000 grit to remove water spots and other buildup that cleaning with a detail brush didn’t remove. I then hit them with rubbing compound and a medium or fine buffing pad on the polisher. Finally, I applied a coat of the ceramic wax.
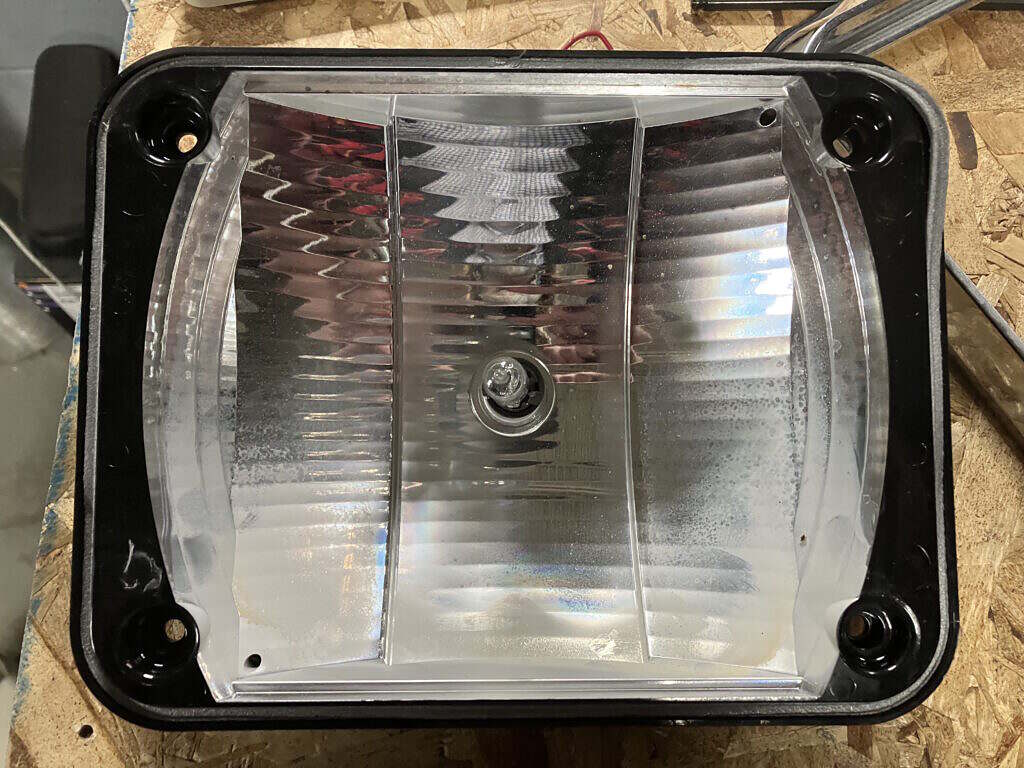
Reflectors – These are the chromed parts behind the lenses. Most were in good shape, though they don’t appear to have been well chromed as the finish was wearing off on some or wore off as I was cleaning and polishing them. Used rubbing compound applied by hand where appropriate and a coat of ceramic wax.
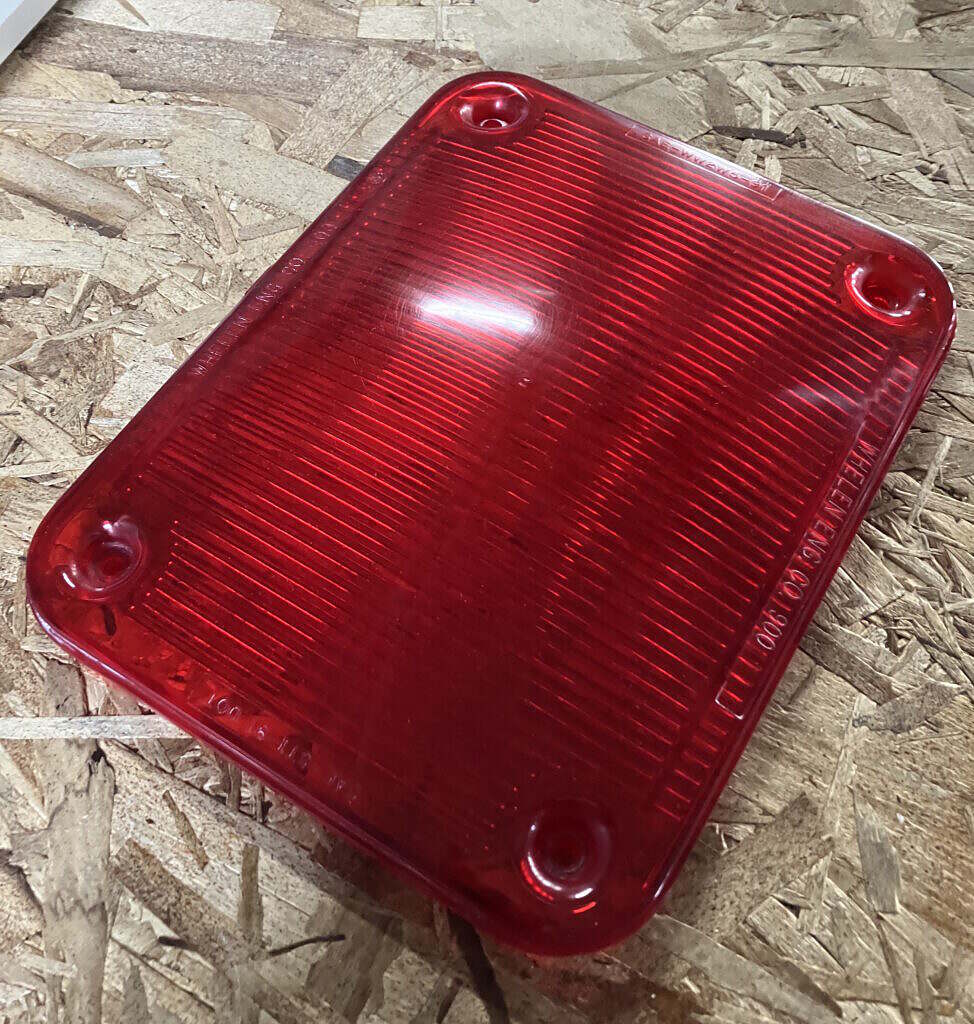
Lenses – The condition of these varied greatly from nearly new to broken in multiple places. For the red strobe lenses, my main concern was to prevent water ingress and have them look halfway decent. Many of the mounts that the screws passed through were cracked or completely broken off from over tightening. I repaired these with clear Gorilla Glue or Super Glue. Once repaired they were cleaned and wet sanded with 800 grit, 1000 grit, 2000 grit, 3000 grit and then polished with rubbing compound and a fine pad on the polisher. Because these were clear I then applied MeGuires PlastX lens cleaner and finally a coat of ceramic wax. For the most part it was the outside of the lenses that needed polishing, but a few were also scratched on the inside.
Rubber gaskets – These seal the light against the truck. I cleaned them and then applied a coat of Renegade Rubber Cleaner, which I let sit for 24 hours before wiping off.
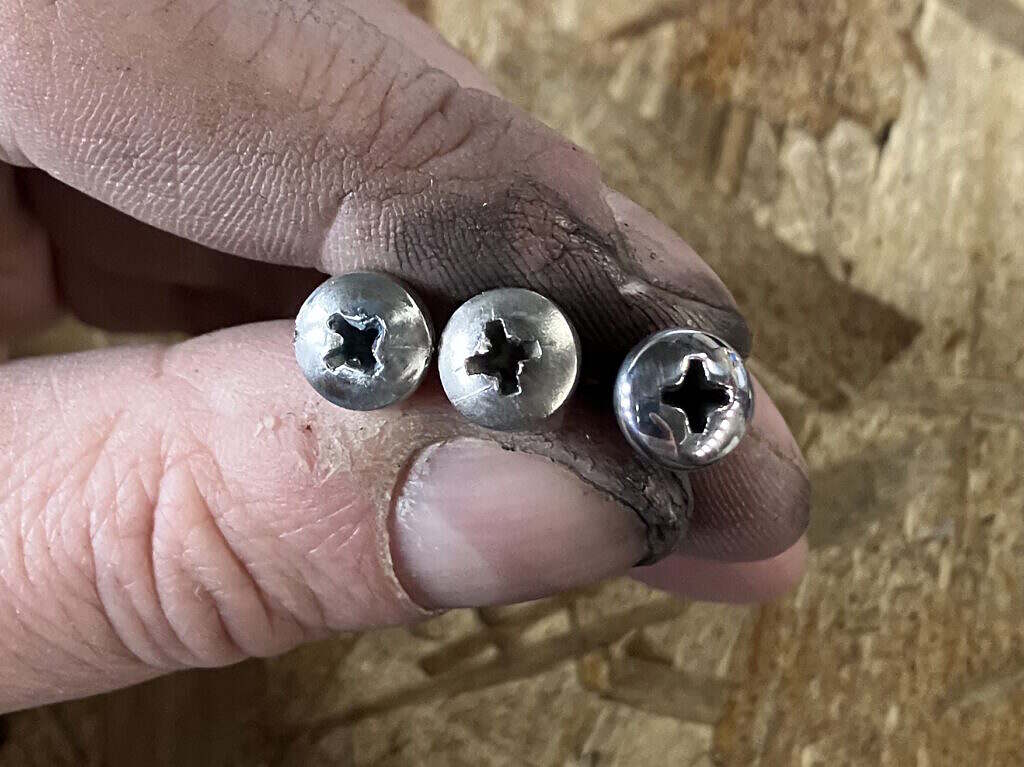
Screw heads – The screws, while stainless steel, were dull or showed signs of mild corrosion. I polished them using the die grinder and a 400 grit abrasive disc followed by a felt pad and Renegade Tripoli polishing compound.

The eight individual light heads in the traffic advisor on the rear of the truck were the only lights with o-rings for weather protection. About half of these o-rings were brittle and cracked. I contacted the manufacturer, Whelen, to identify the part number and order replacements. The helpful guy I dealt with sent me a set of brand new o-rings at no charge. The housing for the traffic advisor is aluminum and the two end plates with fairly dinged up and scratched. I removed these, flattened, polished and repainted them with semi-gloss black.
In one or two cases the lenses were badly cracked so I replaced them. I originally considered replacing the red strobe lenses with clear, but at $80 each, that seemed like a waste of money when I wasn’t even going to be wiring them back up. The white reverse light reflectors were badly cracked and the only halogen lights on the truck (besides the scene lights and head lights). I replaced these entirely with new LED light heads.
I’ve already covered my glass polishing efforts. All the chrome elsewhere on the vehicle also needs to be polished, but I’m waiting for warmer weather as running the big polishing wheel with compound makes one helluva mess. Same goes for the paint.
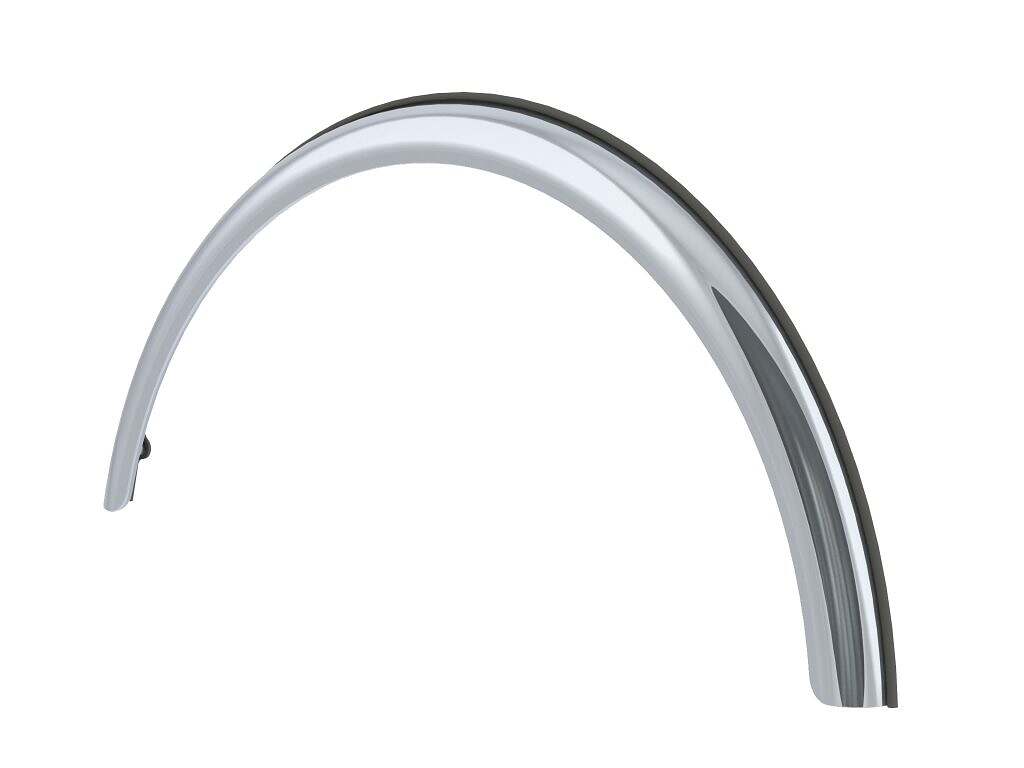
Fenderettes – These are the polished aluminum fittings around the wheel wells and the lower parts of the module. Haven’t worked on these yet as it will be a warm-weather, outdoor activity.
Diamond plate – The corners of the module have diamond plate guards. There is also the rear bumper as well as the driver and passenger side steps. Polishing these will again be a warmer weather outdoor activity.
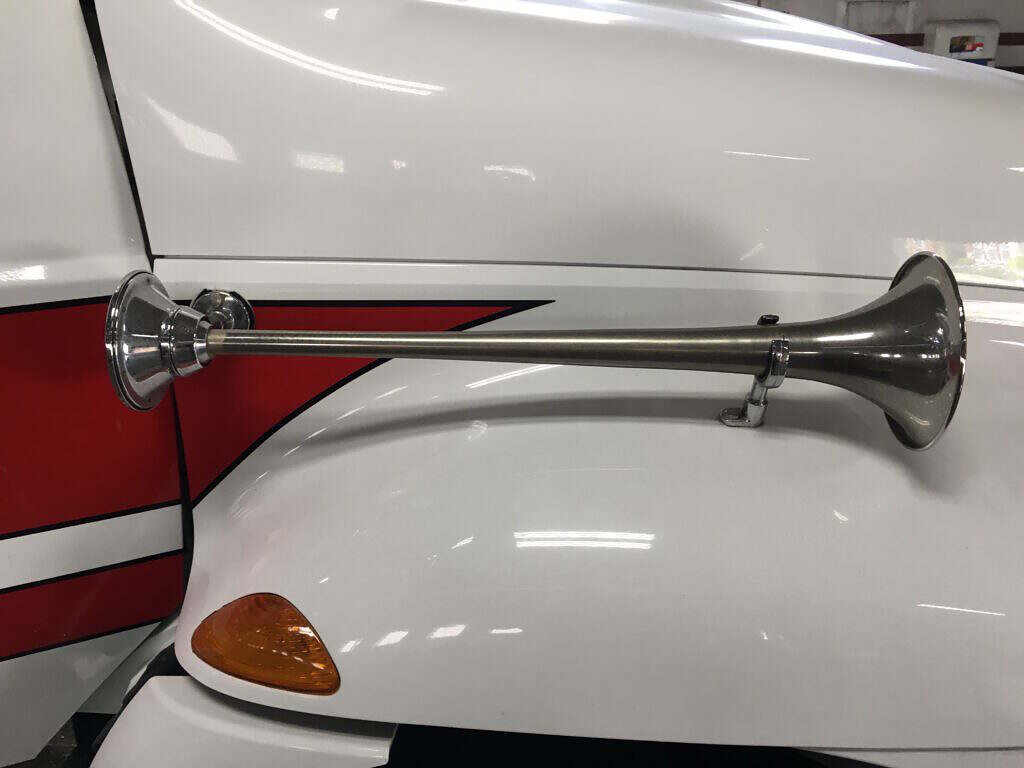
Air horns – These glorious honkers put out a staggering 125dB each and are mounted on both fenders right at most other driver’s head level. Based on my research, these are “emergency” air horns as opposed to truck or train horns, and thus have a slightly different, more attention-grabbing tone. Here’s a tip if you ever come into possession of one of these; don’t put the end of your air compressor into the air fitting on the horn to see if it works while indoors without hearing protection. I knew they were loud and it still startled the shit out of me when I did it.
…and this doesn’t even cover the paint or other large chrome pieces on the exterior, such as the bumper, grill and wheels.
Supplies
Here’s a list of the various products and tools I’ve used in my efforts to make the Rig shine. Of course, before you can polish/shine something it has to be clean, so I’ve included the many cleaners I’ve found useful.
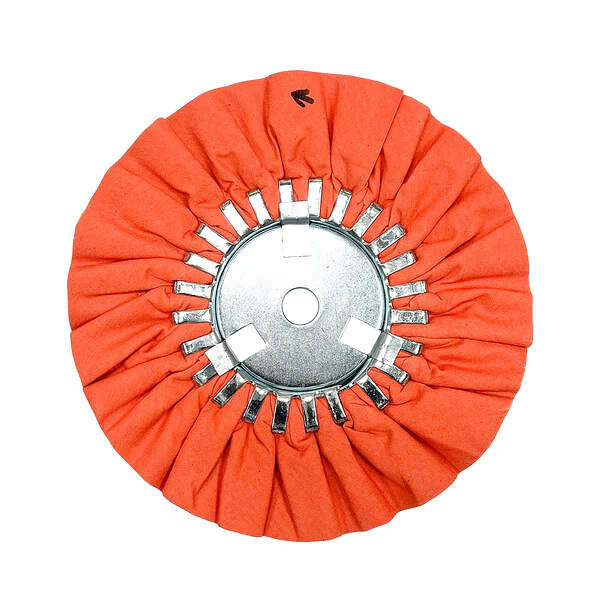
Renegade 9″ Buffing Wheels (yellow, orange, white) – Haven’t used these much yet, but from my research, they are the way to go for large scale metal polishing when combined with the buffing compounds. If you’ve seen semi trailers or gas tanks polished to a mirror finish, this is what they used. The downside is they make a helluva mess. I tested one for about 30 seconds and it resulted in everything within 6′ being covered with a fine brown powder from the buffing compound.
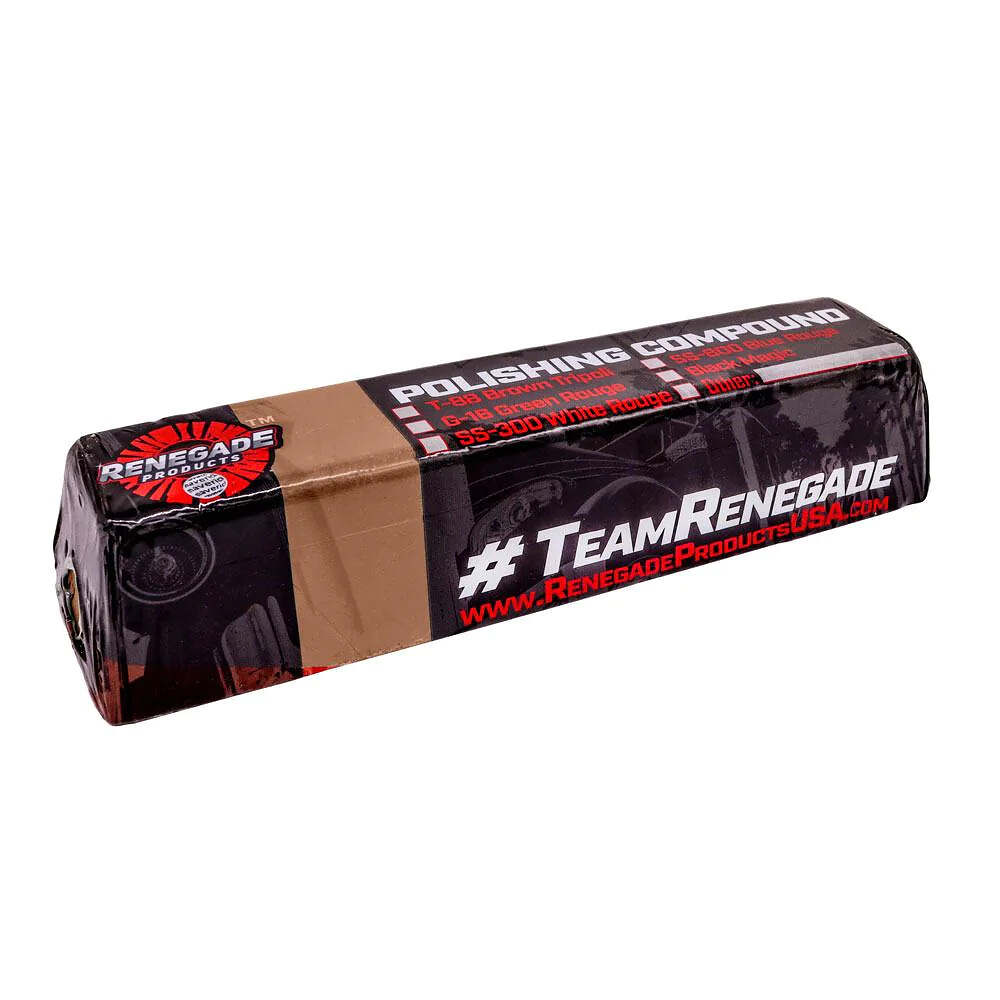
Renegade Buffing Compound (Fast Cut Tripoli Brown, Green Rouge, Competition Purple) – These are used in combination with the buffing wheels or felt pads. The Fast Cut Tripoli is used with the yellow wheel, Green Rouge is used with the orange wheel and Competition Purple is used with the white felt wheel.
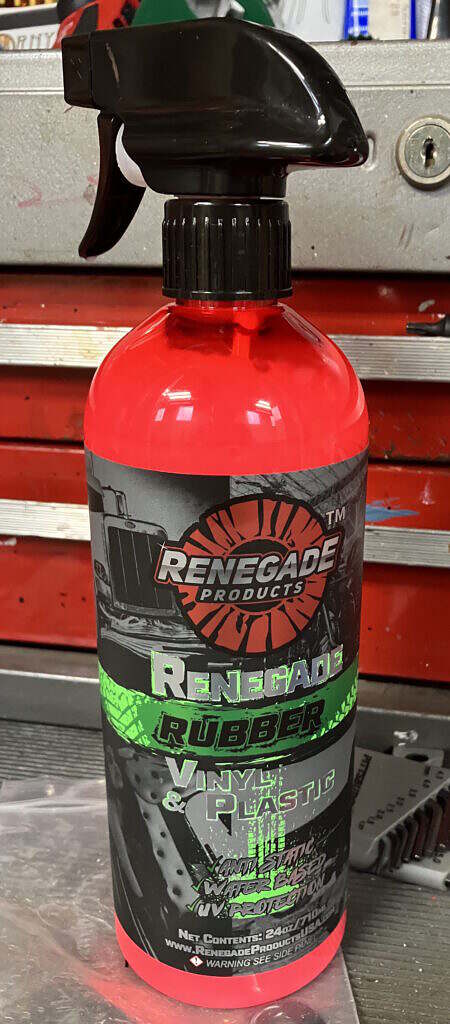
Renegade Rubber, Vinyl & Plastic Conditioner – This stuff was expensive, though it’s now come significantly down in price ($32 > $20). Even for what I paid, it was worth every penny. I was looking for something to use on all the rubber and plastic on the truck and took a chance on this based on my previous positive experience with Renegade’s products. I don’t know what’s in it, but the instructions state you should wear gloves and it works better than anything else I’ve ever tried. The product can be applied in a couple of ways depending on whether you want a glossy or matte finish. For a rich matte finish I saturate a paper towel and wipe on the product, leaving a lot of excess which I then let soak in for a day or so before wiping it dry.
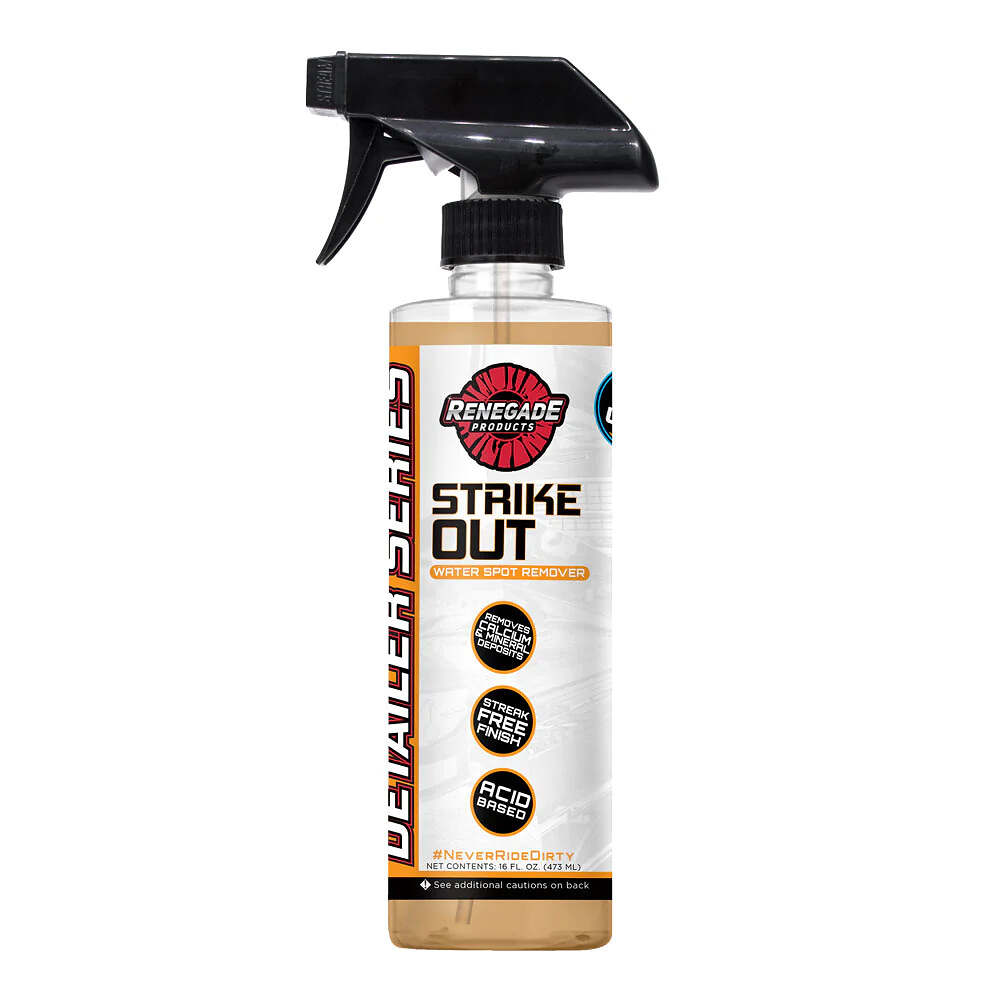
Renegade Strike Out Waterspot Remover -Removing the waterspots from the glass and to a lesser degree the paint has become a huge pain in the arse. This stuff was somewhat of a disappointment, but nothing else has worked on my mutant waterspots either so I can’t entirely blame it.
Simple Green – As I stated elsewhere, I’ve been using this stuff forever and it’s my go-to cleaner and degreaser. I’ve gone through nearly a gallon of it on this project.
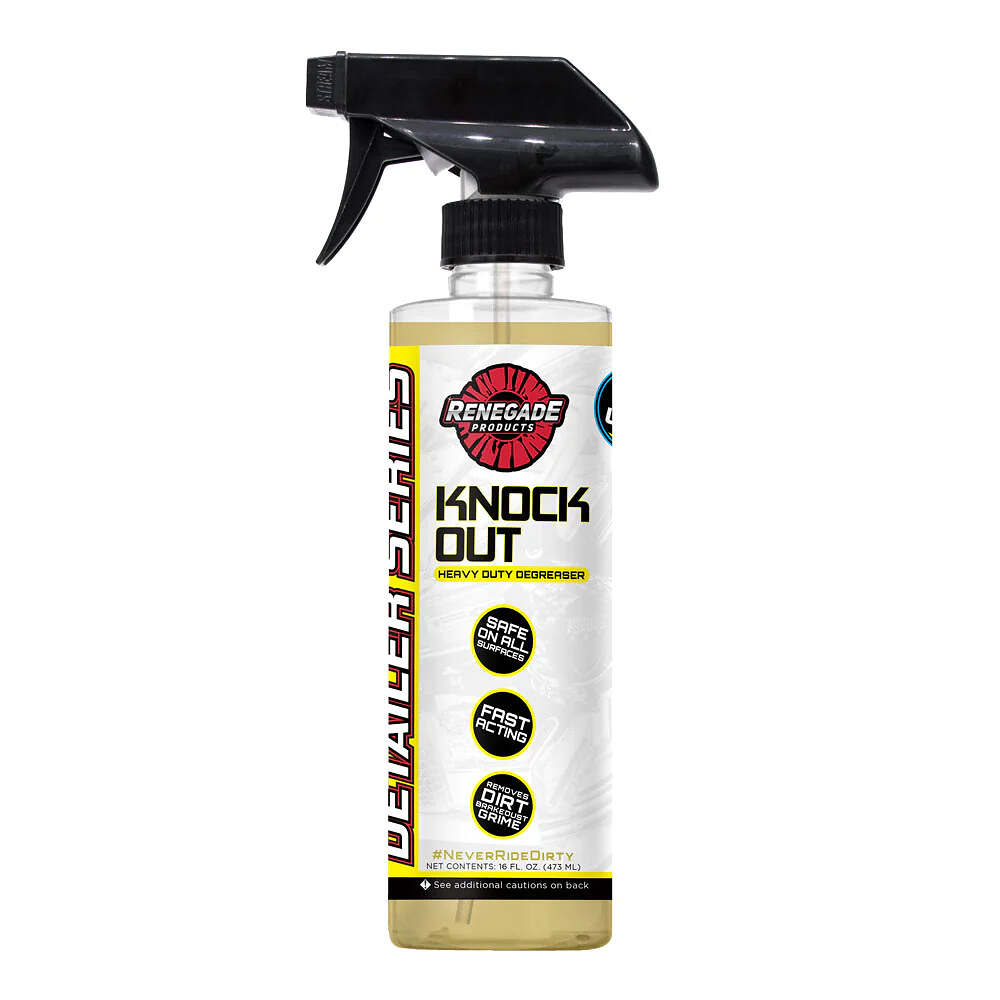
Renegade Knock Out Degreaser – Haven’t used this much yet, but again, because I’ve had such a good experience with Renegade products, I decided to give it a try.
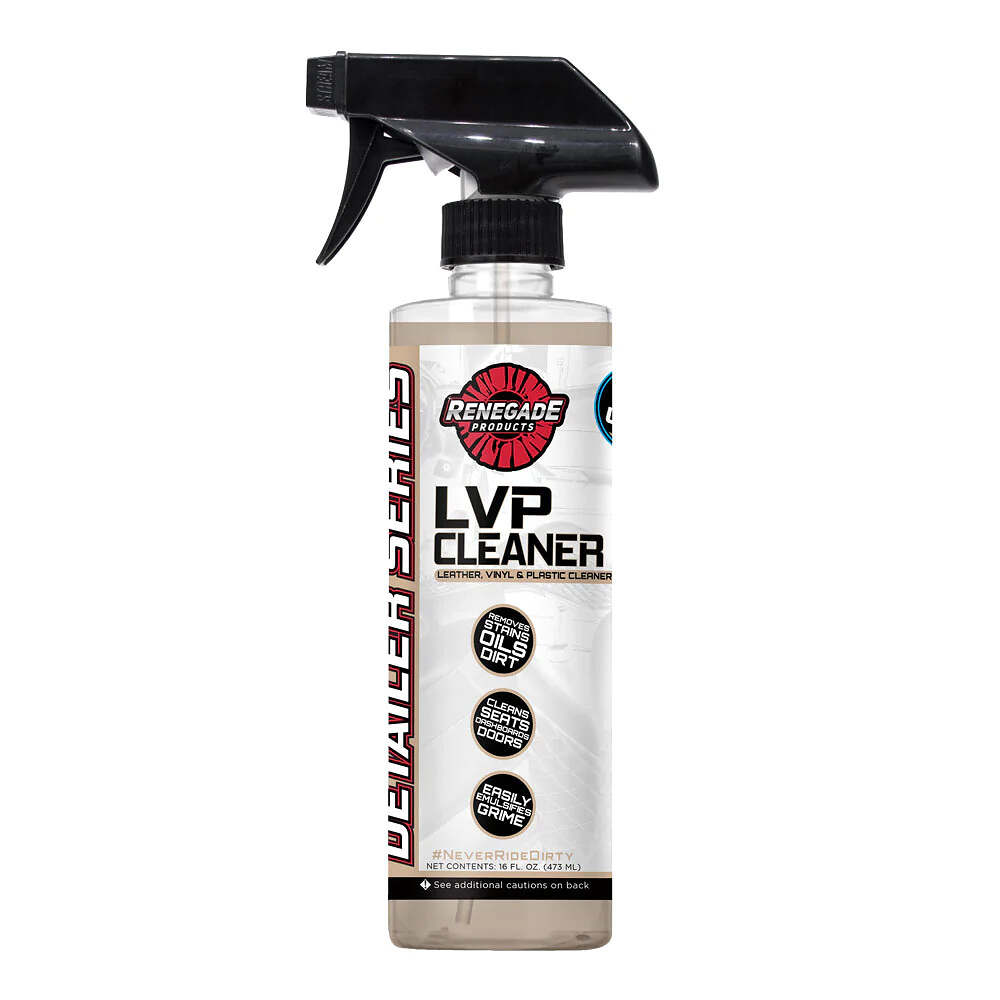
Renegade LVP Cleaner – Leather, vinyl & plastic cleaner. Does what it says.
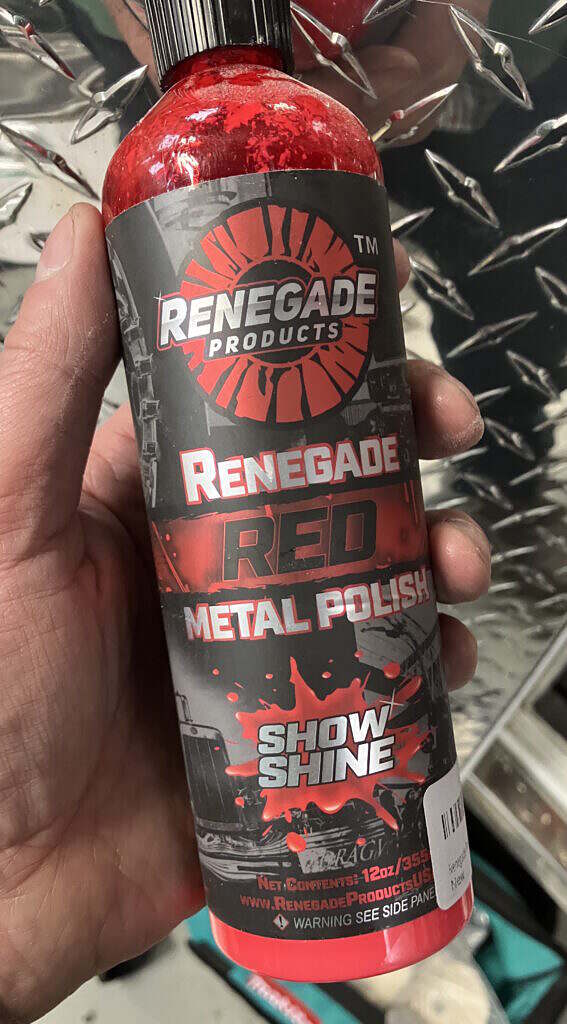
Renegade Red Metal Polish – I’ve used this for hand polishing aluminum, which it works extremely well for. I used it on all the aluminum diamond plate throughout the lockers. It’s best suited for previously polished metal that is dirty and/or has a haze on it. It wont do much for anything more severe than a light scratch, though I haven’t used it with a machine polisher as of yet.
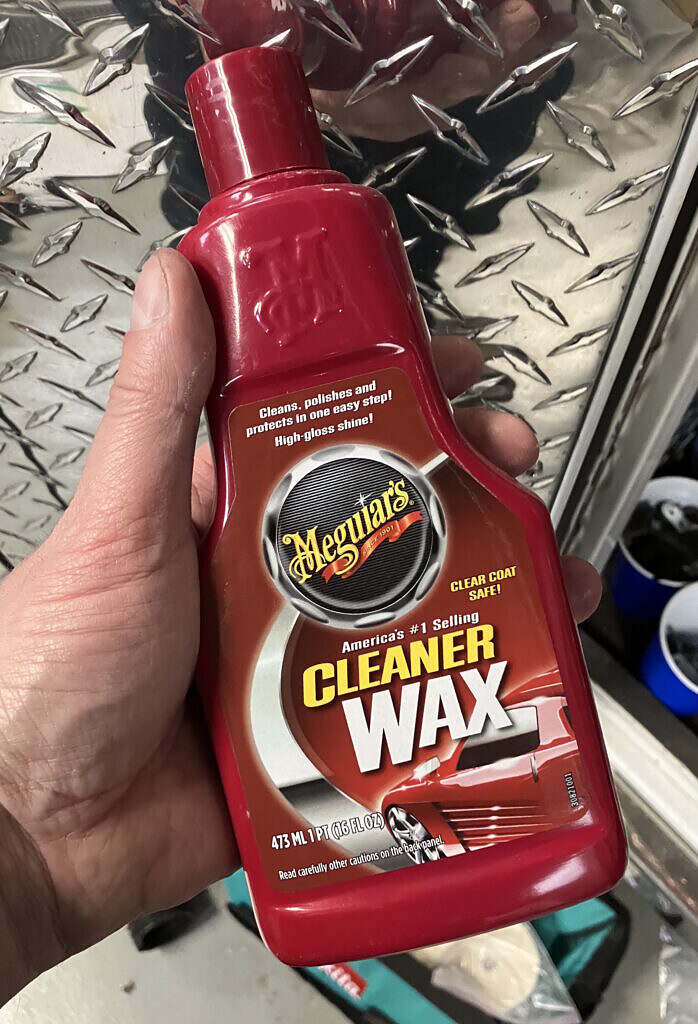
MeGuire’s Cleaner Wax – I’ve been using this stuff since I was a 15 year old lot boy at a car dealership washing and detailing cars. This stuff is good for cleaning of paint with light to medium oxidation or between every 3-4 wax jobs to remove buildup. I’d rank it as one step below rubbing compound. It wont take off as much paint, but it also wont get out deep scratches or severe oxidation.
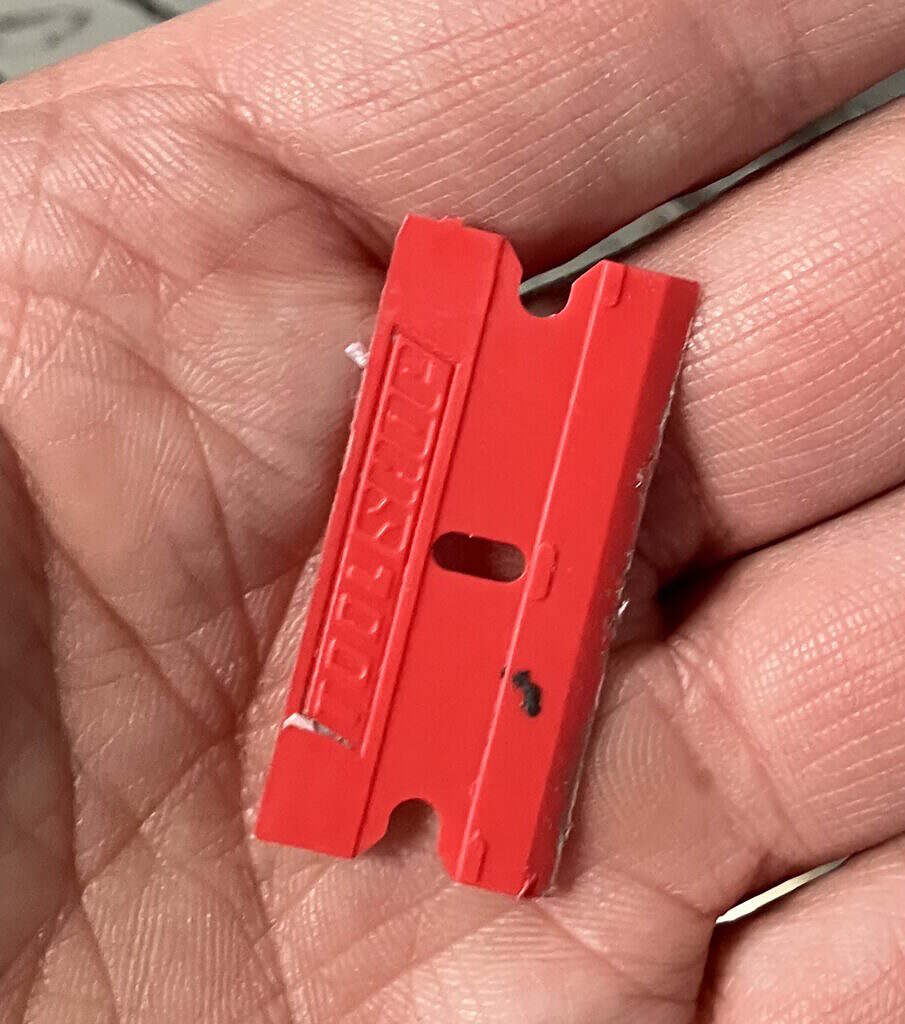
Plastic razor blades – I somehow didn’t know these were a thing until I stumbled across them at Menards last spring. Much safer to use than regular razor blades for removing decals or crud on paint without scratching. Even more effective when combined with Simple Green or Goo Gone.
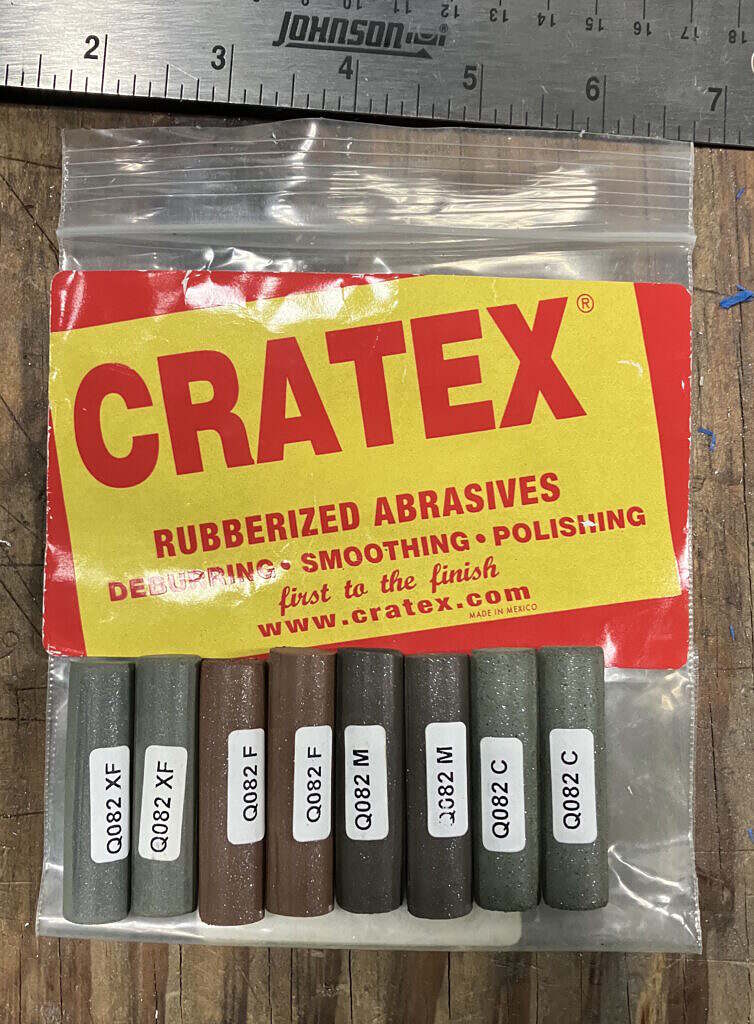
Cratex Rubberized Abrasive – Discovered this product when I was researching engine turning/jeweling as a metal finishing technique. It comes it various forms, although I’m using sticks which mount in my drill press. It’s essentially rubber mixed with abrasives.
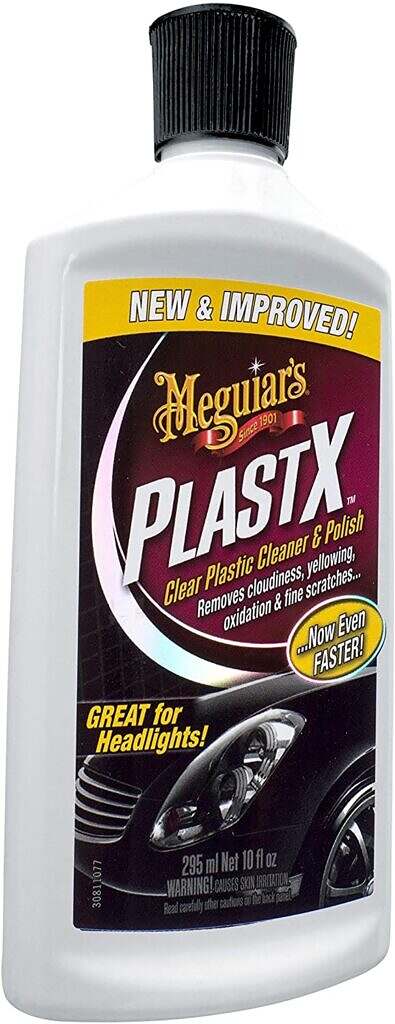
MeGuire’s PlastX Clear Plastic Cleaner & Polish – Using this on all the plastic lenses on the truck after sanding and buffing with rubbing compound.
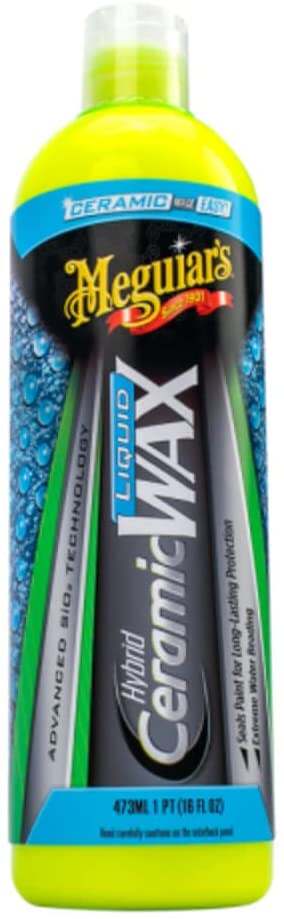
MeGuire’s Hybrid Ceramic Wax – I’m an old school carnauba wax guy, but I gave this stuff a try and I’ve been impressed. It’s also much easier to apply. Supposedly it’s tougher and longer lasting than carnauba or other synthetic waxes, though I haven’t been using it long enough for any long-term results.
TurtleWax Clean Cut Rubbing Compound – There are a whole range of rubbing compounds. I consider this a fairly mild compound. After wet sanding I use this with a foam pad and the polisher to remove finer scratches.
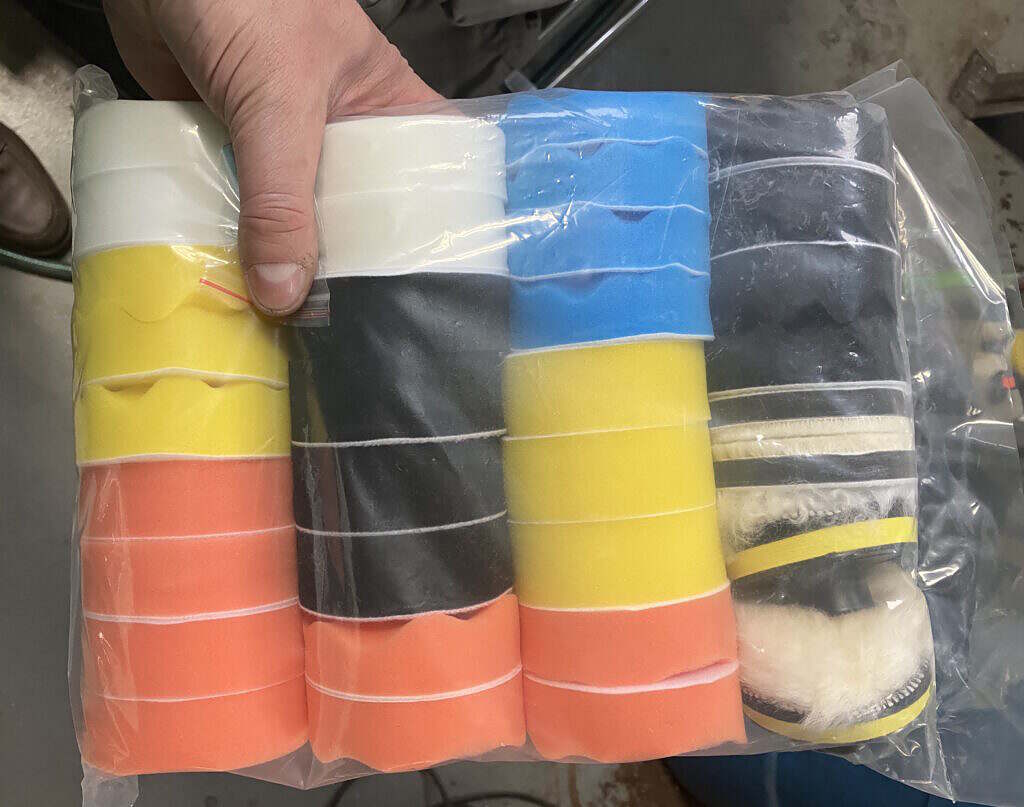
Foam Polishing Pads – These come in a variety of types from course to fine. There are also wool and felt pads.

Microfiber Applicator Pads & Towels – Wipe on, wipe off.
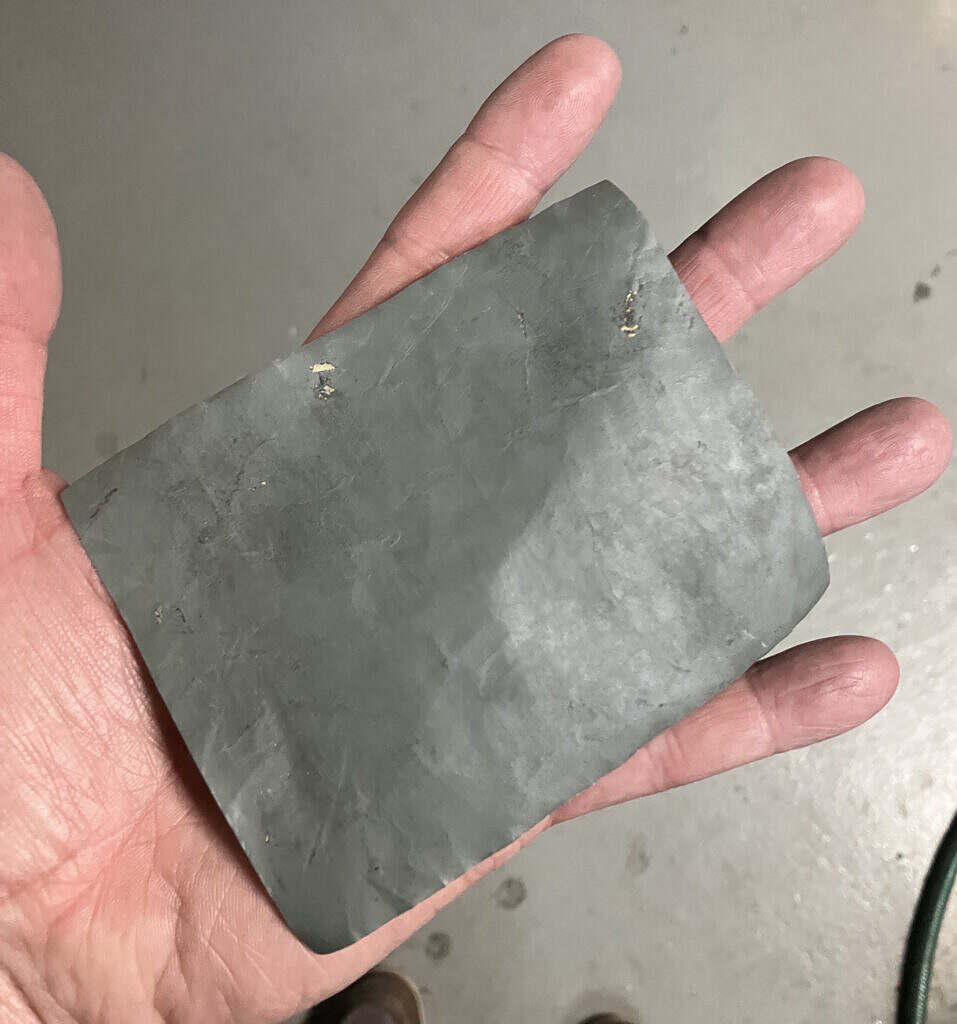
Wet/Dry Sandpaper – This comes in full sheets or half sheets to fit a sanding block. I cut them down to quarters. I only use these for wet sanding. For the lenses I start with 800 grit and then move to 1000, 2000 and finally 3000 before moving to rubbing compound, plastic polish and the ceramic wax.
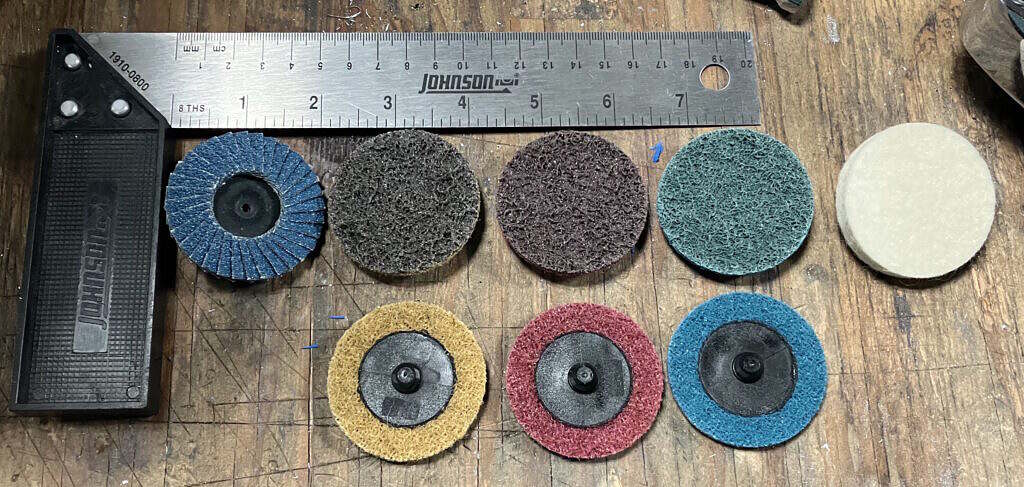
Rol-Loc wheels – These are fantastic and previously unknown to me. There’s a Rol-Loc adapter, which fits either the die grinder or the polisher. The Rol-Loc discs, which are 2″ in diameter, are extremely quick to change and available in a seemingly endless variety of types; sand paper in all grits,a luminum oxide or zirconium oxide, felt, abrasive pads, flap discs.
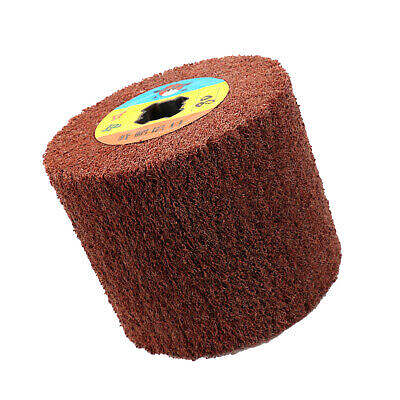
Burnishing Drum – This mounts on the Makita polisher with an adapter. Sometimes you don’t want a mirror finish on things. For example, I have a half dozen aluminum hand rails that I don’t want to polish to a mirror finish because they’ll obviously show fingerprints. Burnishing results in a matte brushed metal look.
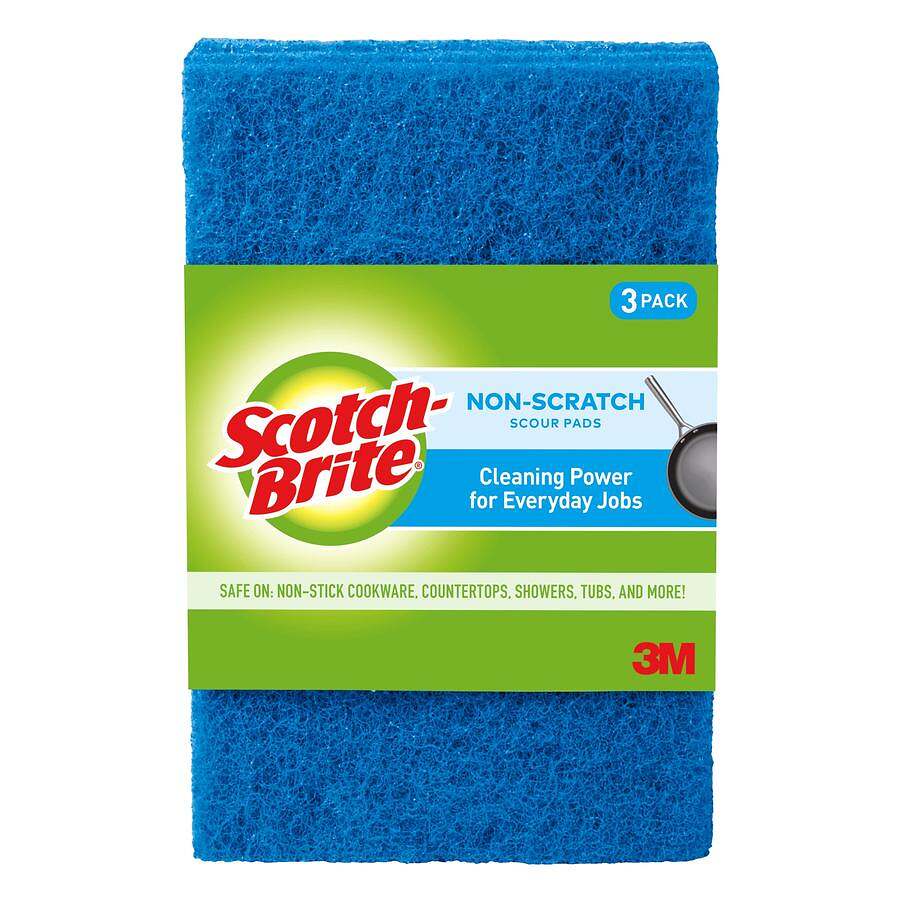
Scotchbrite pads
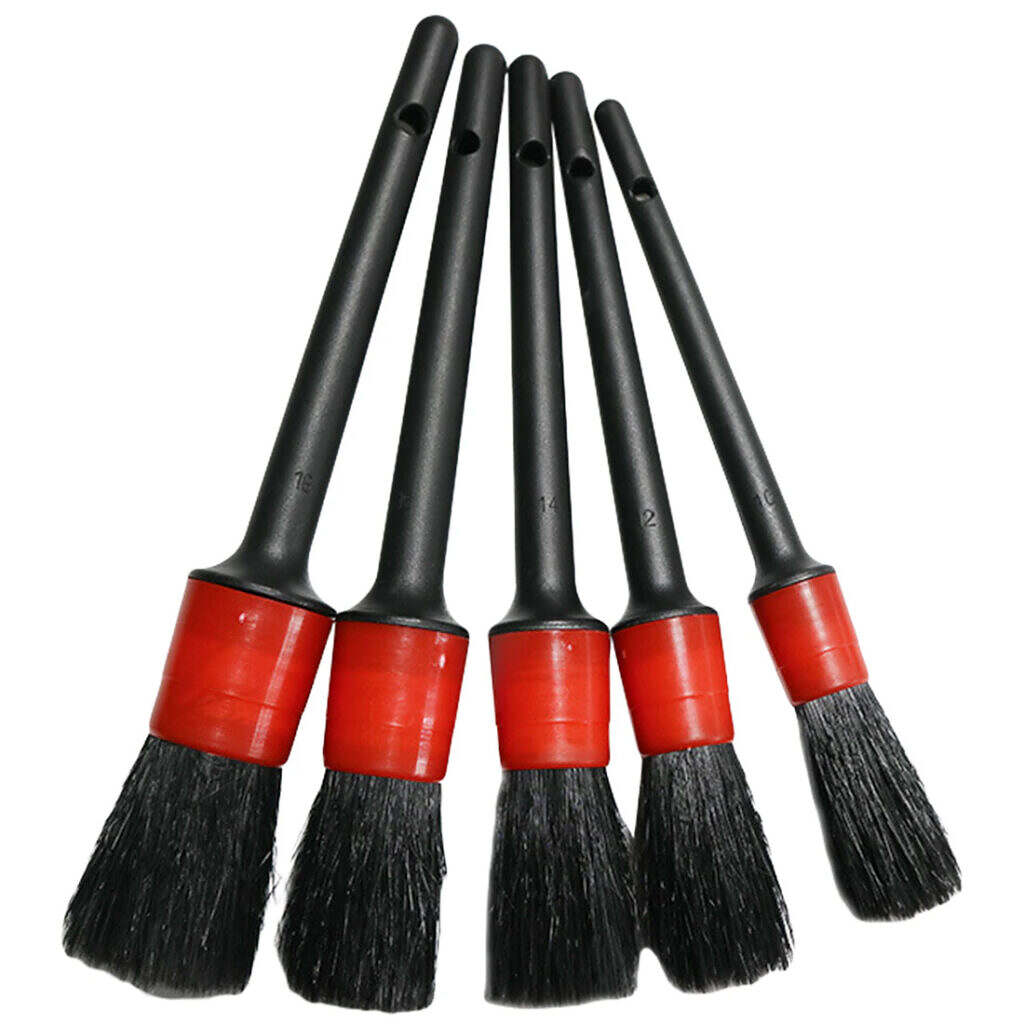
Detail brushes
Old toothbrushes – These work great for fine detailing including getting crud or dried wax out of seams or raised letting on the plastic light lenses. The opposite end, which is usually some kind of texture rubber nub, works great for covering with a microfiber towel to jam into tight spots my fingers wont fit in.
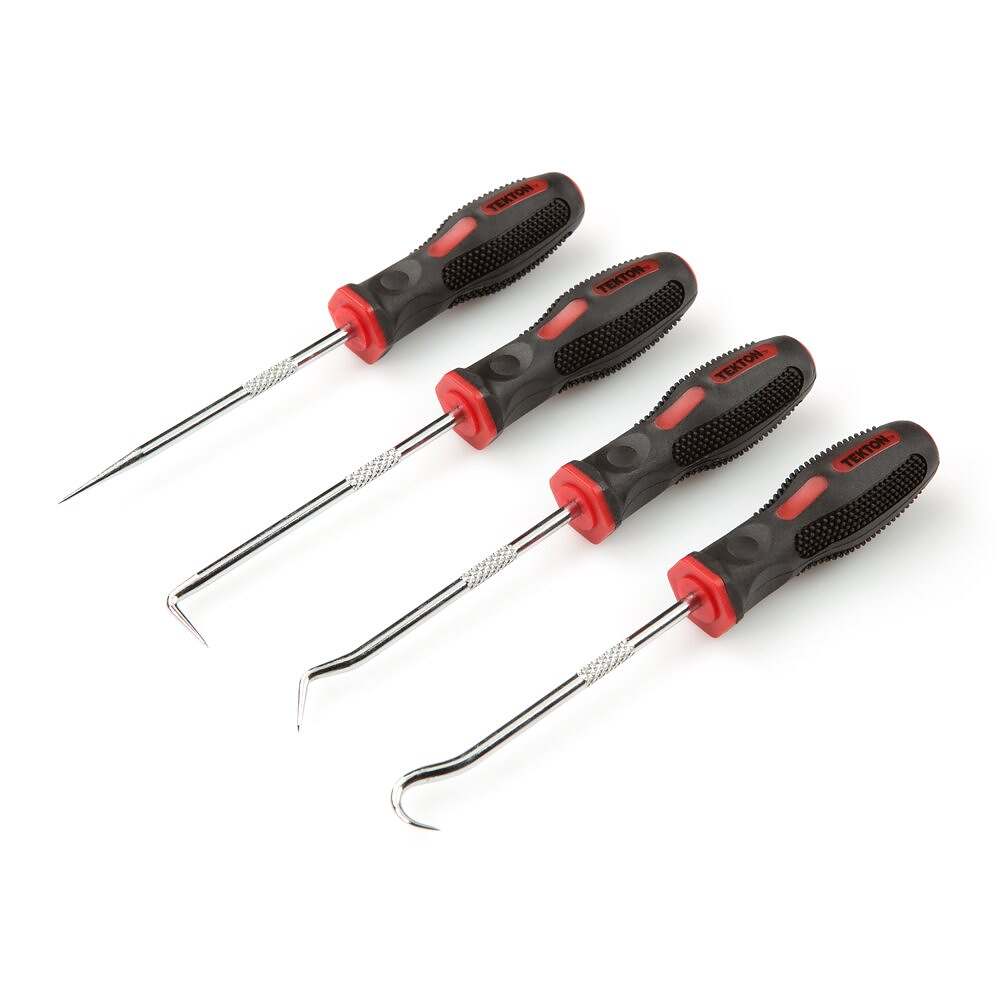
Picks – I have a set of Tekton picks and some miscellaneous dental pics that are good for scraping crud out of seams and cracks.
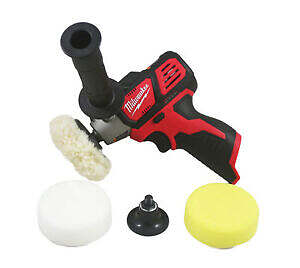
Milwaukee Polisher/Sander – I originally thought I could get away with using the die grinder for polishing tasks, but the two tools each have their own strengths. The polisher does it’s work with relatively low speeds (up to 800 RPM) and high torque, which allows you to really press into the workpiece. The die grinder on the other hand does it’s work through high RPM. It has almost no torque and can be easily stopped by pressing to hard or even with your bare hand. However, it can go from 10,000 up to 25,000 RPM in 5,000 increments.
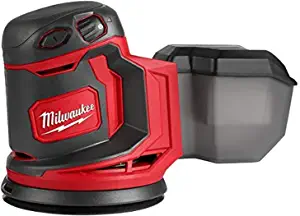
Milwaukee Random Orbit Sander – I use this to prep the aluminum with a 240 grit sandpaper prior to hitting with with the burnishing wheel. Also used on the wood used to build my bunk and the galley counters.
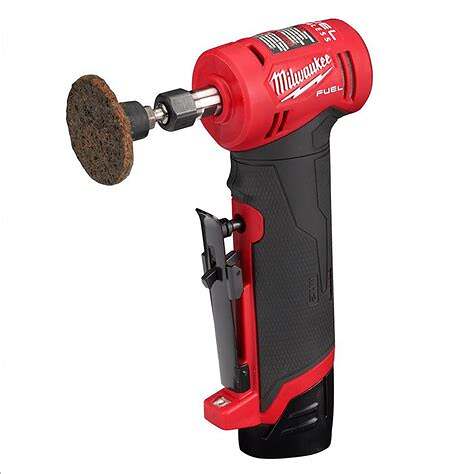
Milwaukee Die Grinder – This is best at grinding metal as it’s name implies. However, with a roll-loc holder it also excels at sanding and polishing steel and aluminum.
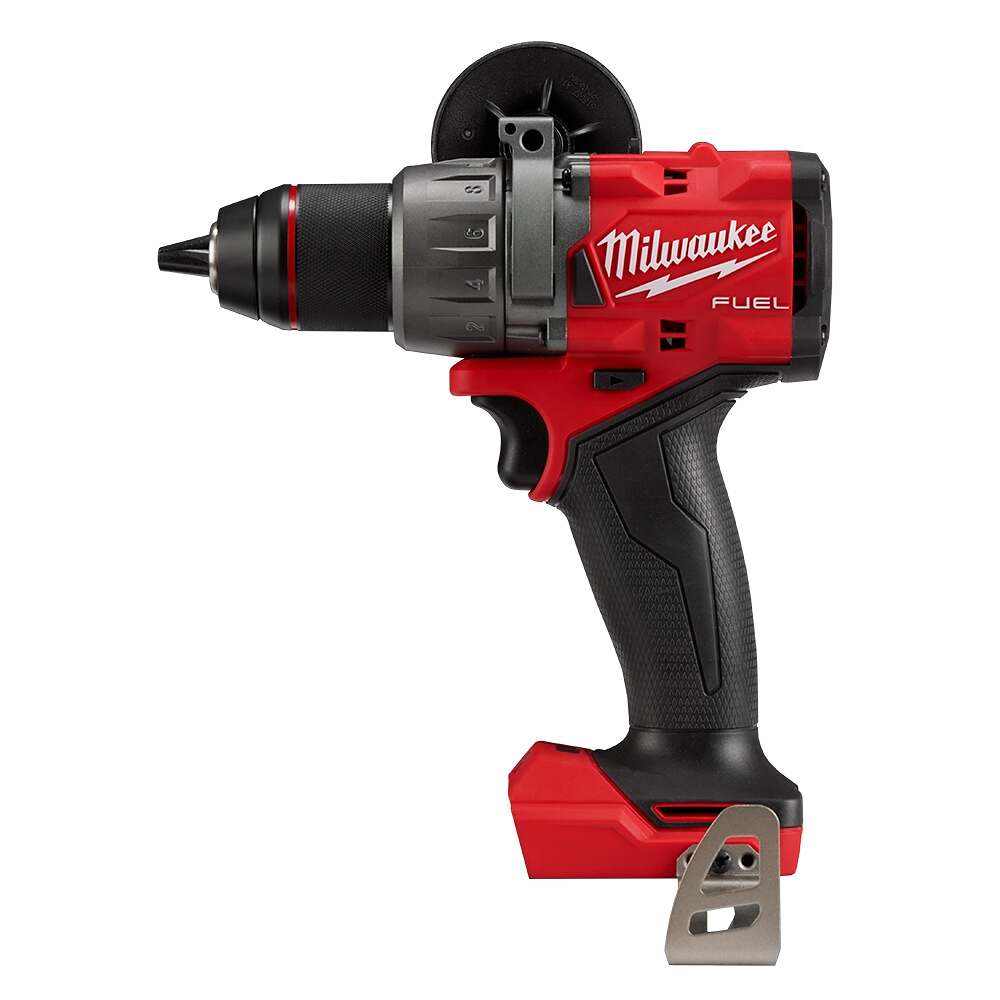
Milwaukee Drill – I use this for the polishing cones, which don’t fit the polisher.
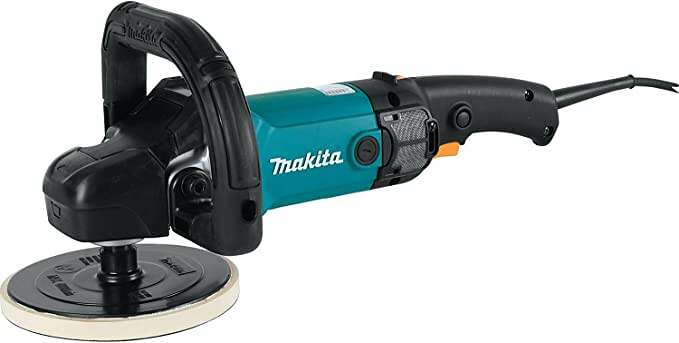
Makita Polisher – This is a variable speed polisher which can use the Renegade Airway buffing wheels or standard velcro backed polishing pads. I also adapted it to use the burnishing wheel when I want a brushed aluminum matte finish.